

Here we come with another fun toilet paper roll craft. We love making toilet paper roll crafts all year 'round and Easter is a great time to get crafting. This time around we are getting ready to set the Easter table and decorate it with the cutest toilet roll Easter bunny napkin rings. I mean, how cute are these little bunnies!?

Disclosure: There are Amazon Affiliate links in this article which means, at no additional cost to you, we could receive compensation for our recommendations. You can read our full disclosure policy on our Disclosure Page for more details.
I love making toilet paper roll crafts. It is such a versatile craft supply. My best tip for using toilet paper rolls to craft with is to collect toilet paper rolls as soon as the roll is empty. Take the empty rolls into the craft room and store them there until we are ready to make a craft. Of course, if you don't have any empty toilet paper rolls you can purchase paper rolls from the craft store.
Toilet Paper Roll Easter Bunny Napkin Rings
toilet paper rolls (1 roll makes 2 napkin rings)
acrylic paints - spring colors
card stock - coordinating spring colors
paintbrush
little pompoms
glue gun
black marker

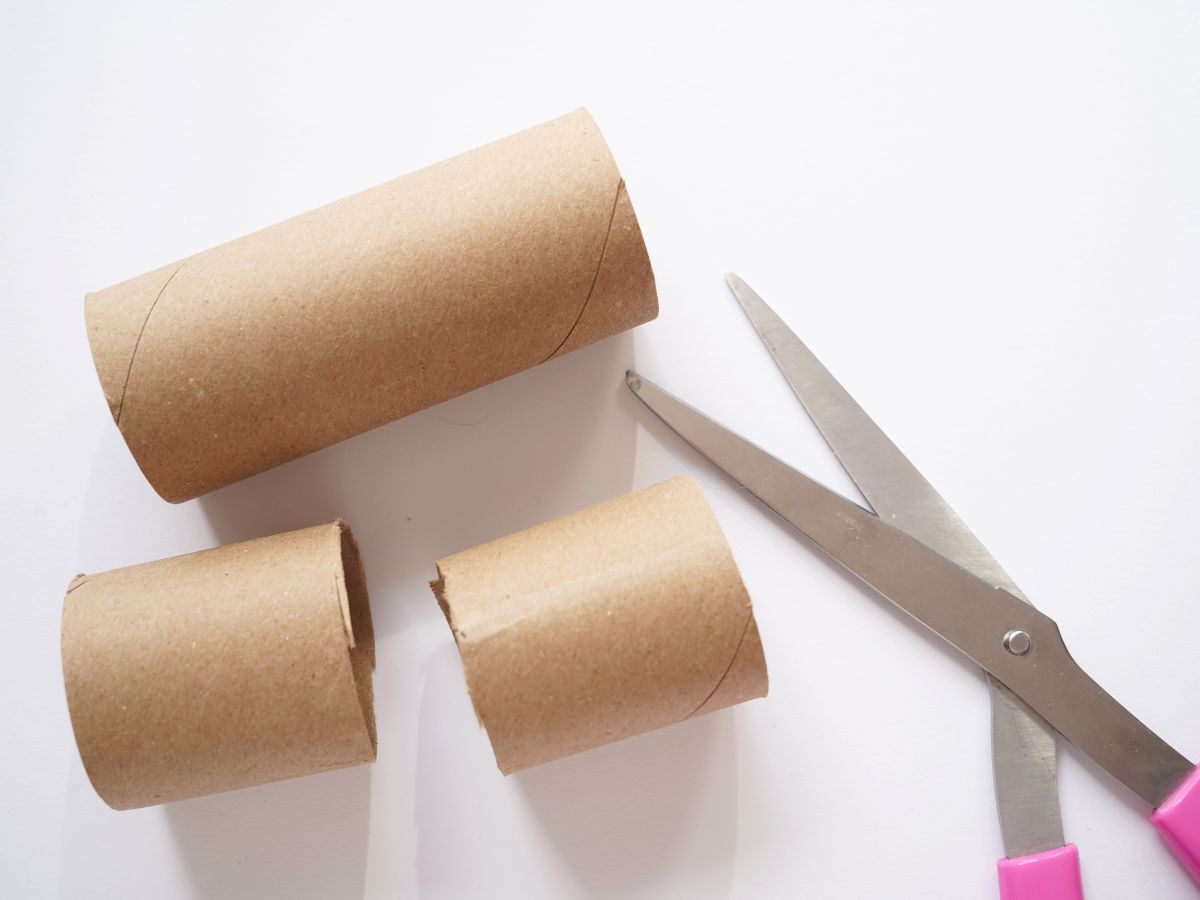
The first step is to cut the toilet paper rolls in half. Each toilet paper roll will make 2 bunnies and a paper towel roll will make 3 bunnies. We made 6 little bunnies, which is the perfect number of napkin rings for our Easter table.
Once the rolls are cut in half paint each piece with your acrylic paint. I chose to paint 3 different colors. I went with Easter colors - pink, blue, and coral. I needed 2 coats of paint to get the depth of color that I liked. Set them aside to dry.
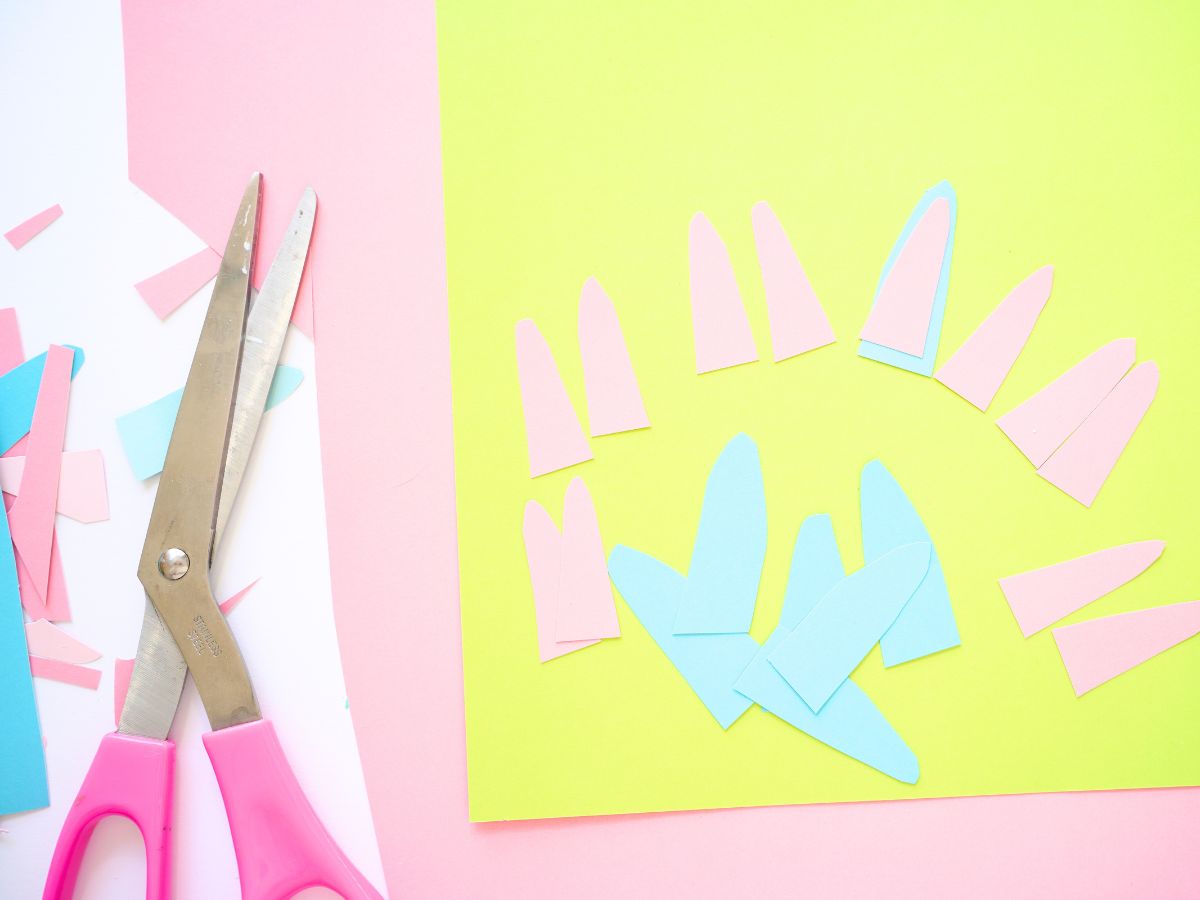
While the paper rolls are drying you can work on making the bunny ears. The size and shape of the bunny ears is up to you. Start by drawing an ear shape that is at least 1 ½ inches long, because you will need to be able to fold over the base of the ear and glue it to the bunny head. Cute 2 ears and 2 inner ears - from pink paper - for each napkin ring. I used card stock because I like how stiff the paper is, but if you only have construction paper on hand, then you could use construction paper.
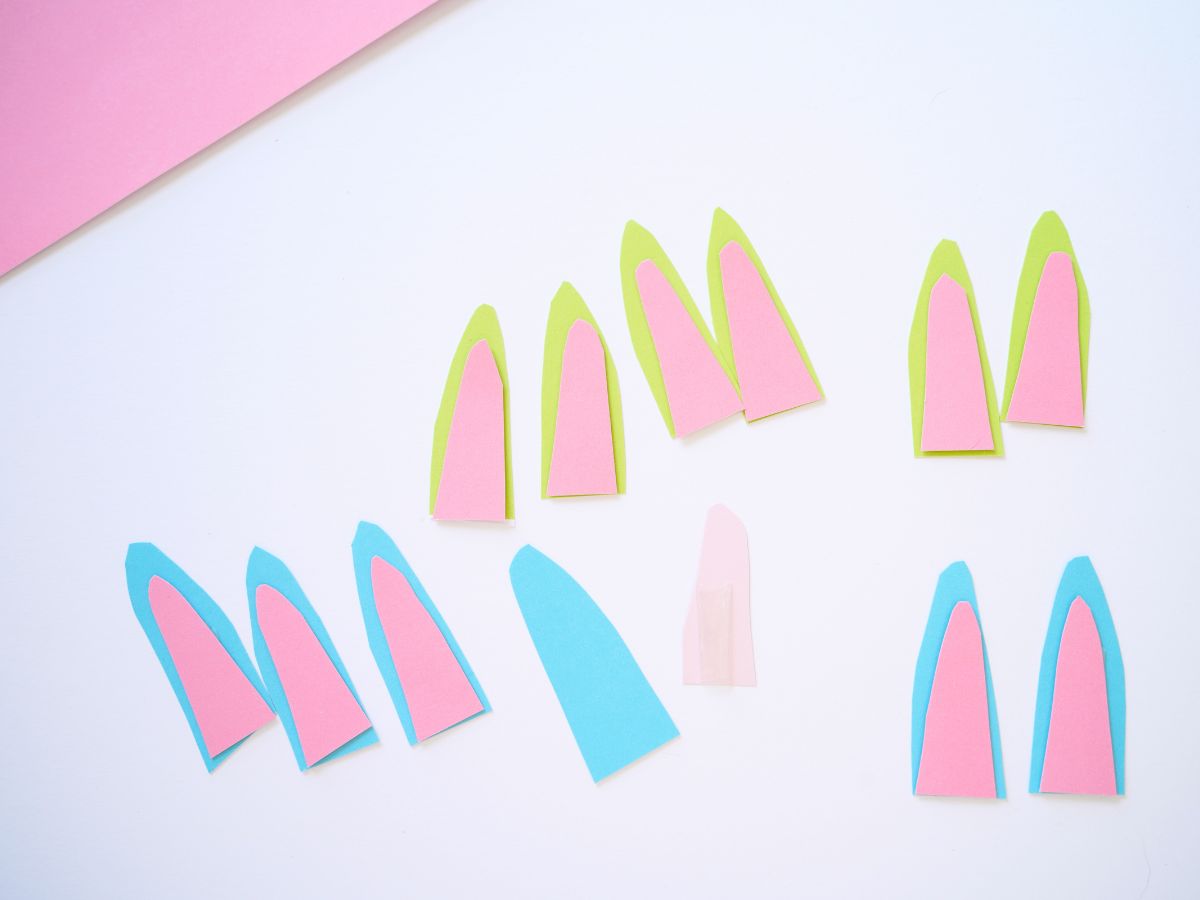
To assemble the ears, use a rolled-up piece of tape to adhere the two layers of the ear together. I found using the glue gun was too messy for these little pieces of paper. The tape worked perfectly.
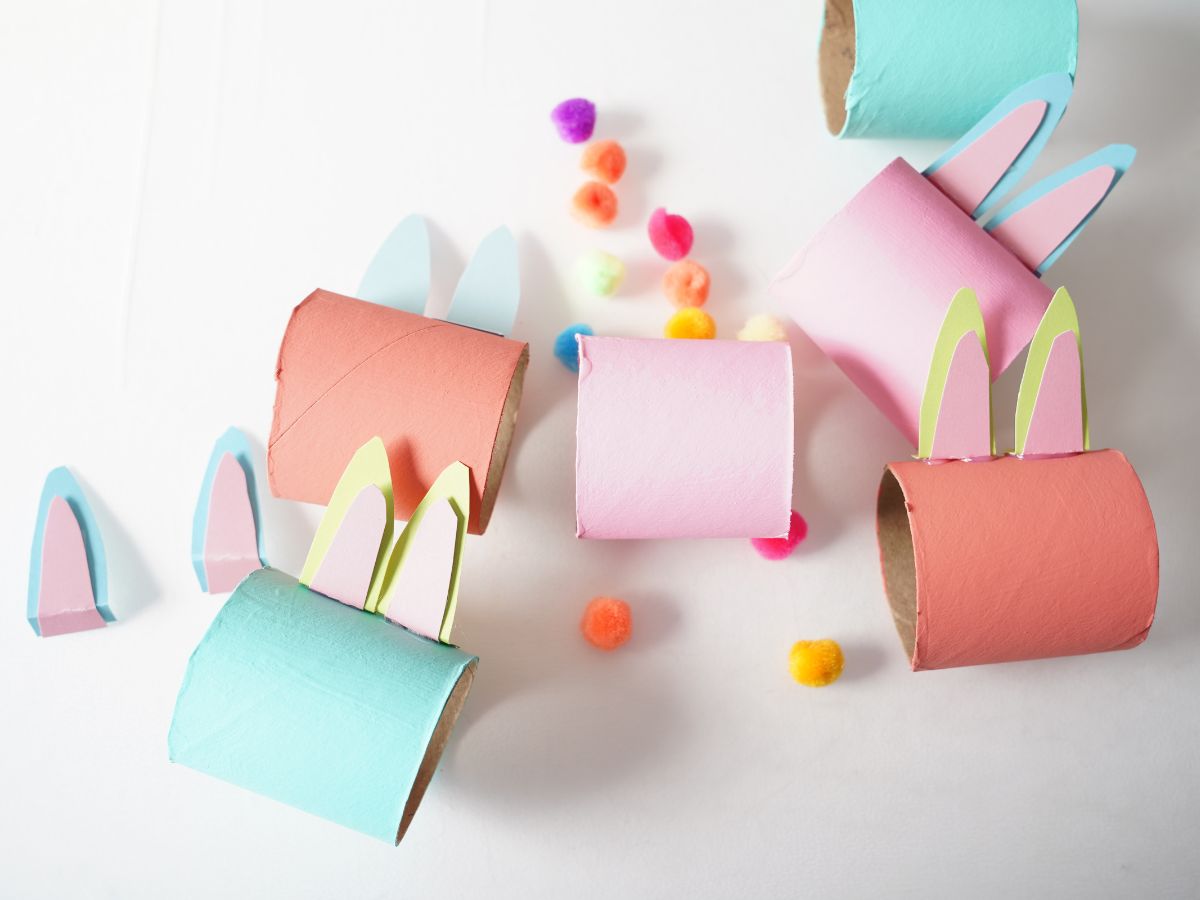
When the ears are assembled and the toilet rolls are dry it is time to use the glue gun to the paper roll. Fold back about ¼ inch at the base of the bunny ear. Add a dollop of glue to the ear and adhere the ears to the napkin ring. You will want to make the face of the bunny on the part of the toilet paper roll where the surface is smooth. Let the ears cool.
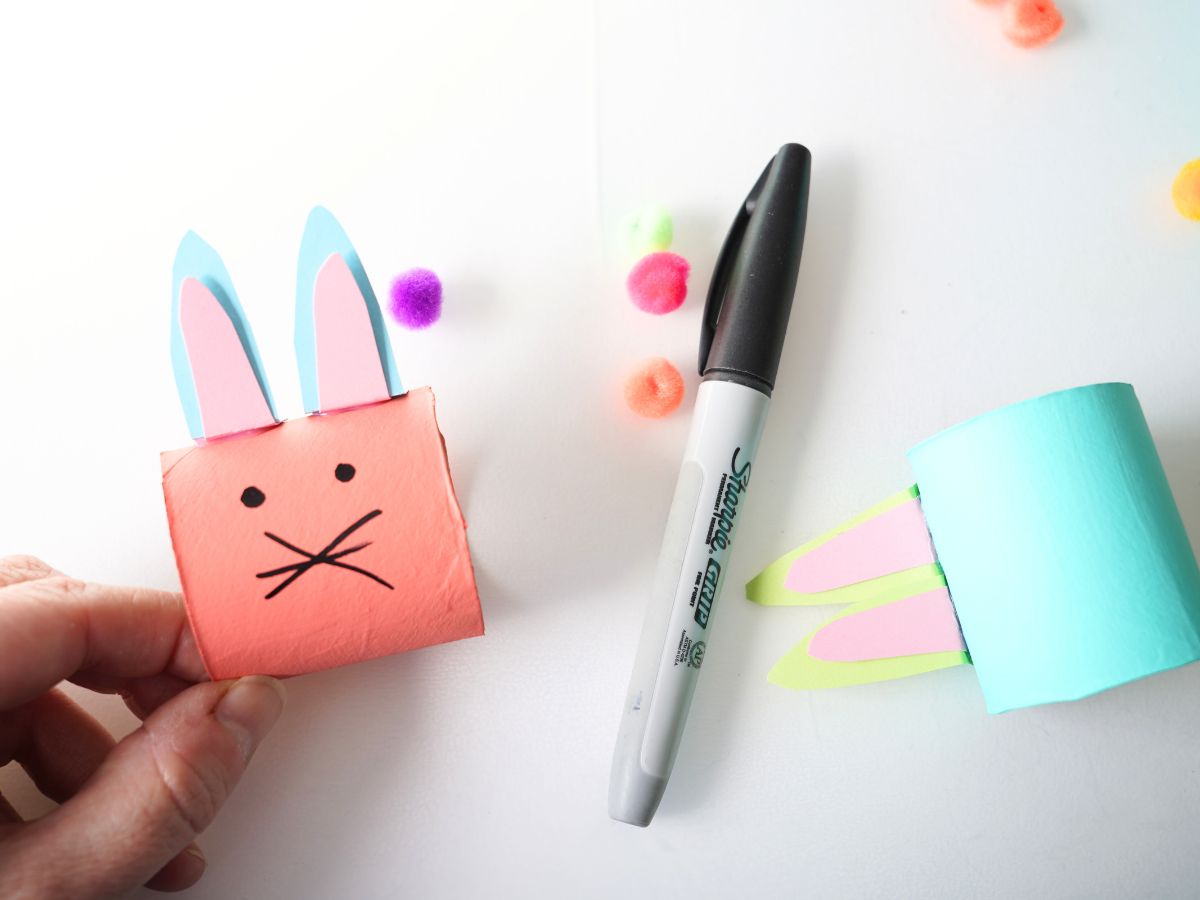
Once the ears are attached, it's time to make the cute faces. Use the black marker to draw on the eyes and the whiskers. Then use the glue gun to adhere the small pompoms to the middle of the whiskers, making the sweet little bunny nose.
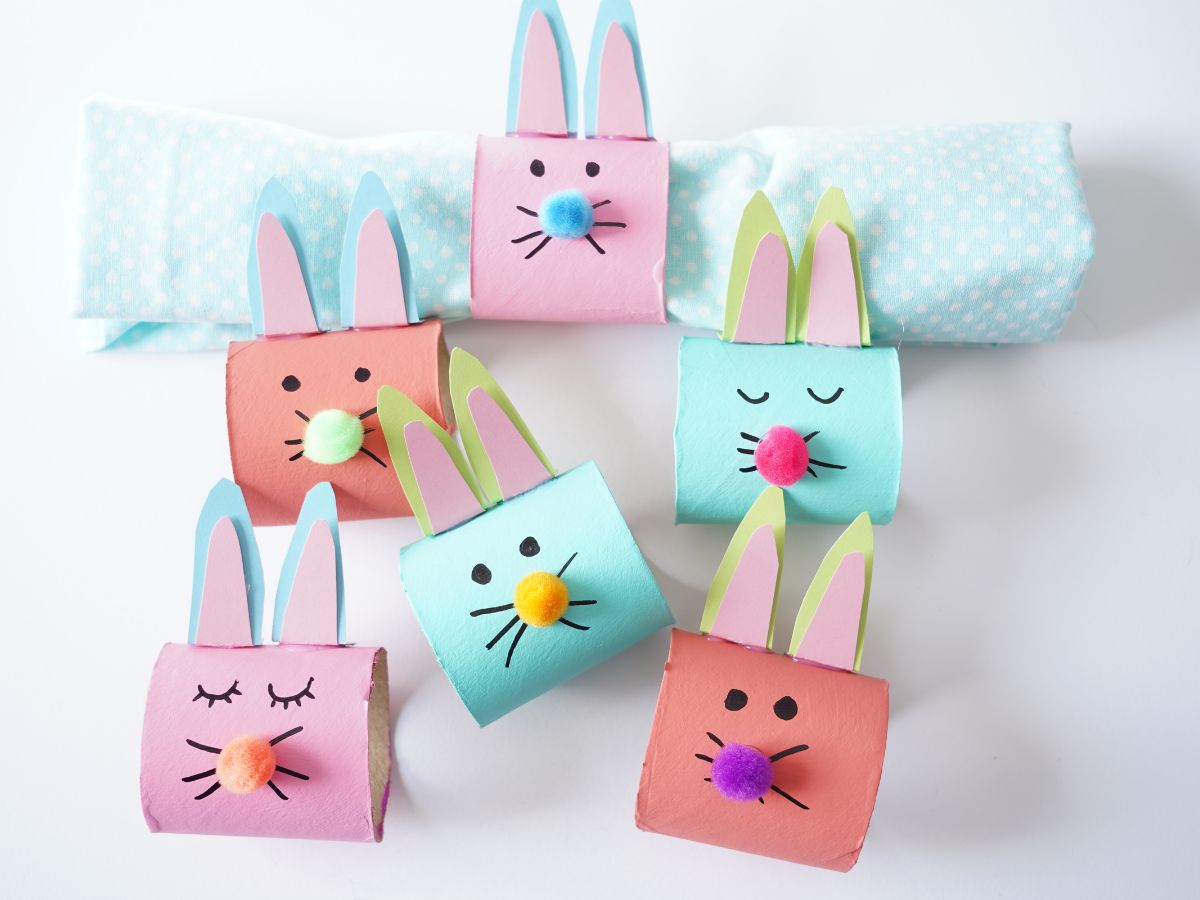
Now that you have a little herd of bunny napkins you are ready to set the Easter table. Fold and slide your Easter napkins inside the bunny napkin rings. Place a bunny at every place setting to welcome your guests to the table.

What do you think? Are these the cutest addition to your Easter table?
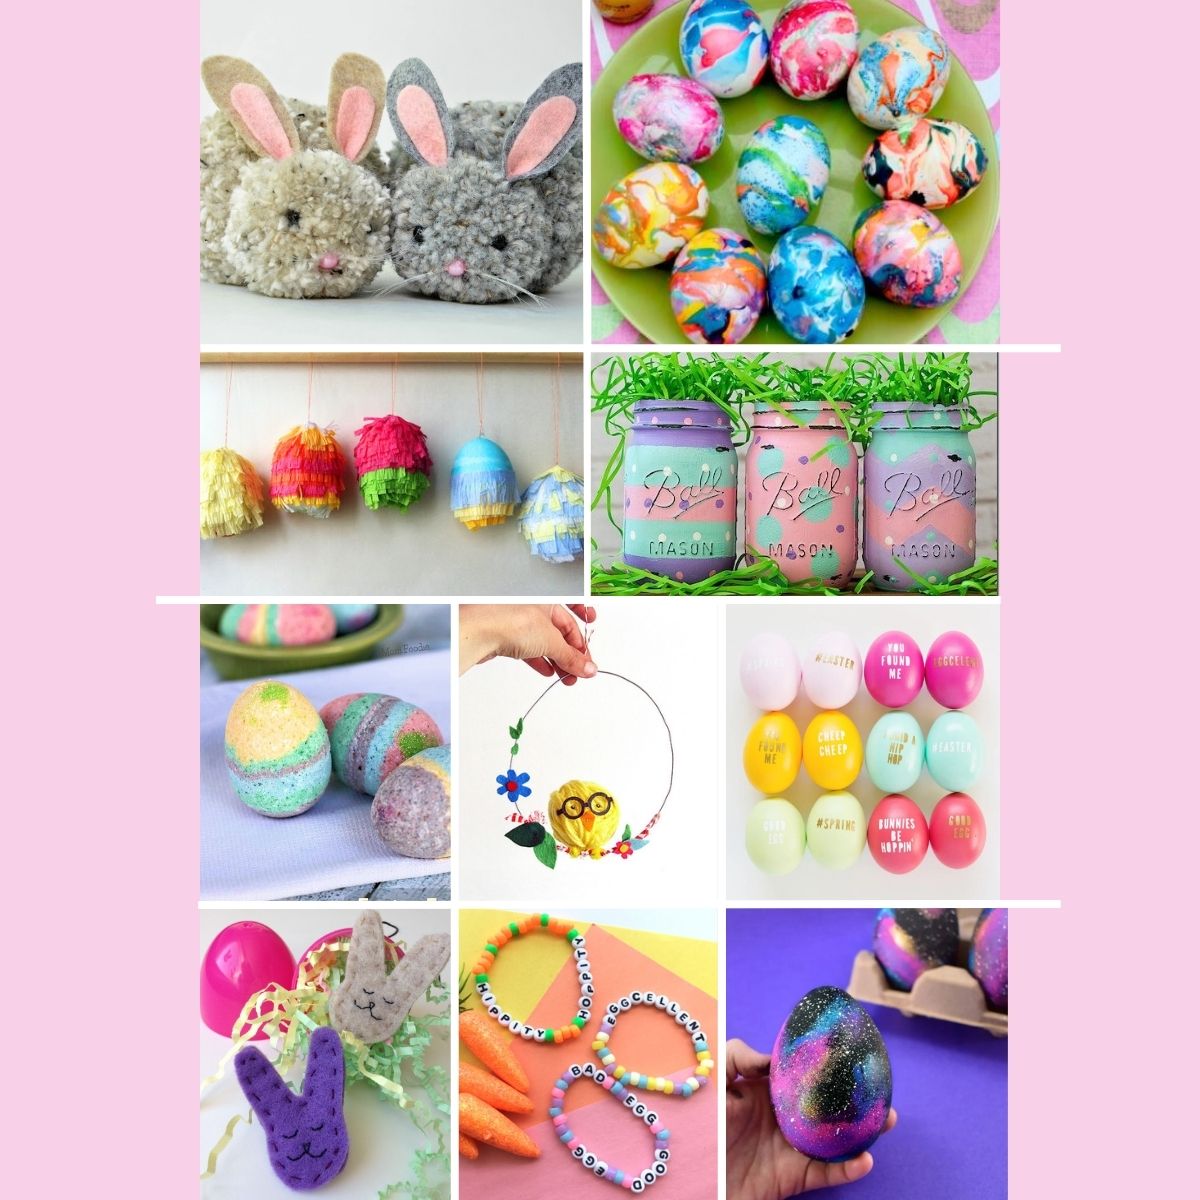
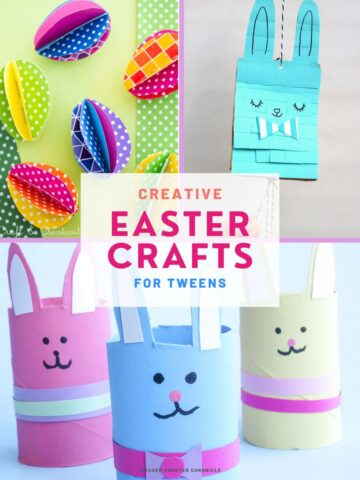
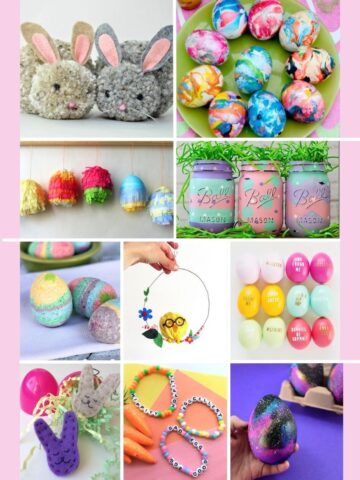
Get creative with our collection of Easter crafts for tweens to make
Make sure you are following along...
FOLLOW KITCHEN COUNTER CHRONICLES ON
SUBSCRIBE TO KITCHEN COUNTER CHRONICLES TO HAVE OUR DELICIOUS RECIPES, FUN CRAFTS & ACTIVITIES DELIVERED DIRECTLY TO YOUR INBOX.


Leave a Reply