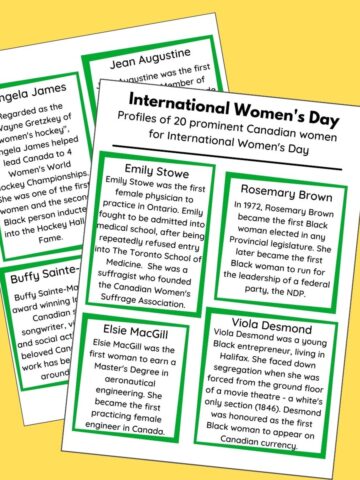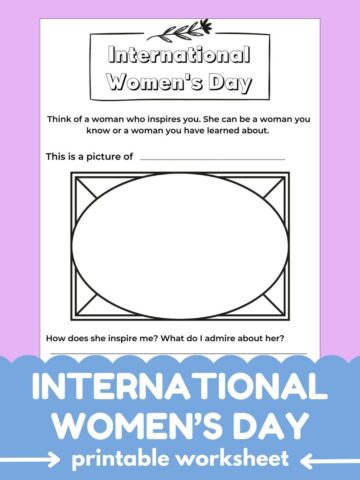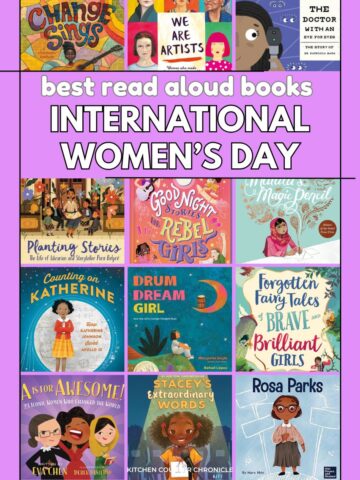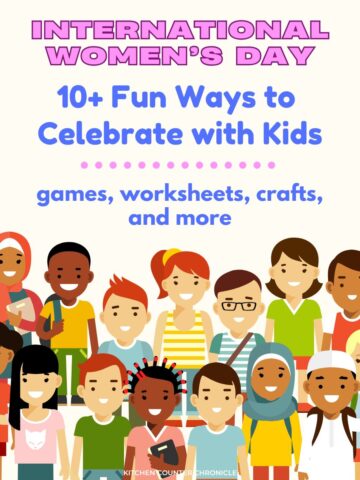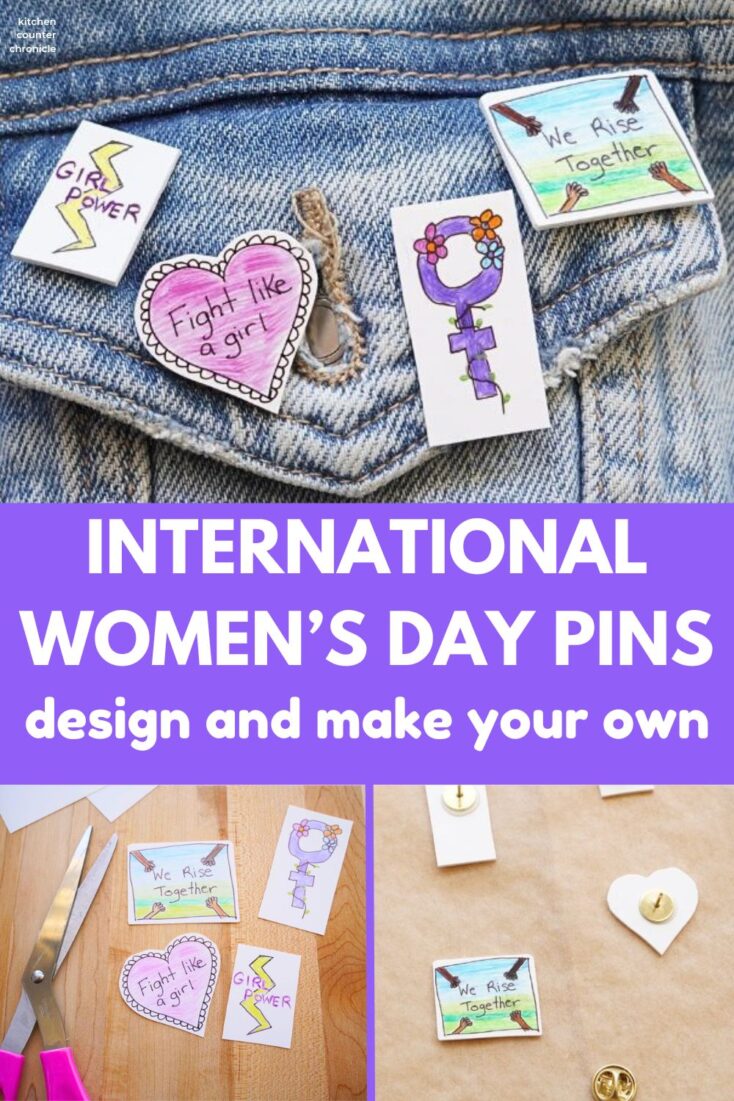
You know we love sharing all kinds of fun and creative ways to celebrate Women's History Month and International Women's Day. We've shared booklists, activities, crafts, and more. Well, I've been wanting to make our own pins for a while now and these International Women's Day pins are a great way to creatively show your support for the women and girls in your life.

Disclosure: There are Amazon Affiliate links in this article which means, at no additional cost to you, we could receive compensation for our recommendations. You can read our full disclosure policy on our Disclosure Page for more details.
I was in the craft store the other day and I came across white Shrinky Dink paper. I had used clear Shrinky Dink paper before and I have used the transparent one too, but I've never seen opaque white paper...have you? Well, I knew immediately what I wanted to make with this paper. I wanted to make our own pins.
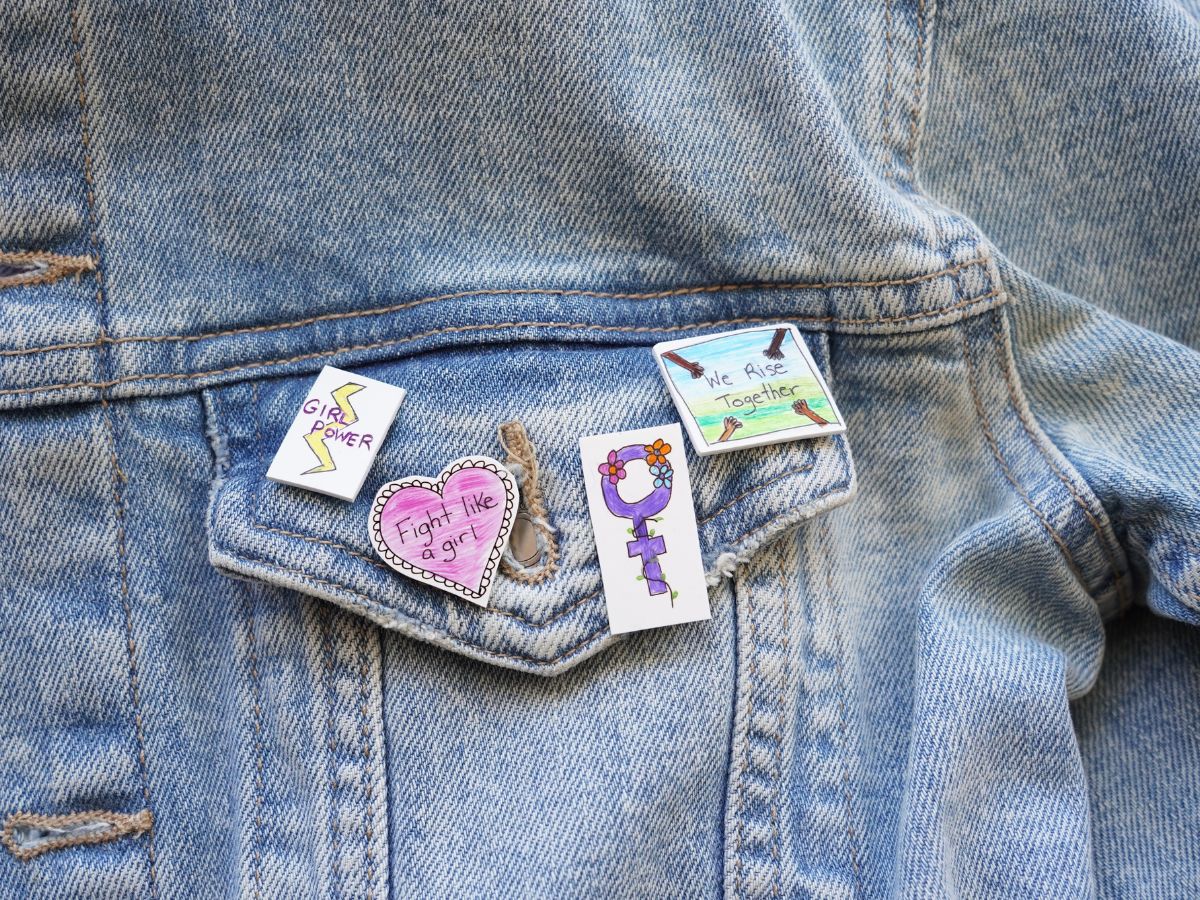
I've shared safety pin crafts before and I've been wanting to share a tutorial on how to make pins at home. I love filling my jacket with different pins. Pins with messages, pins with images, and pins from places I've traveled or music I like. This seemed like a great International Women's Day craft project. We could design pins with messages of support for women and wear them proudly during Women's History Month and beyond.
How to Make International Women's Day Pins
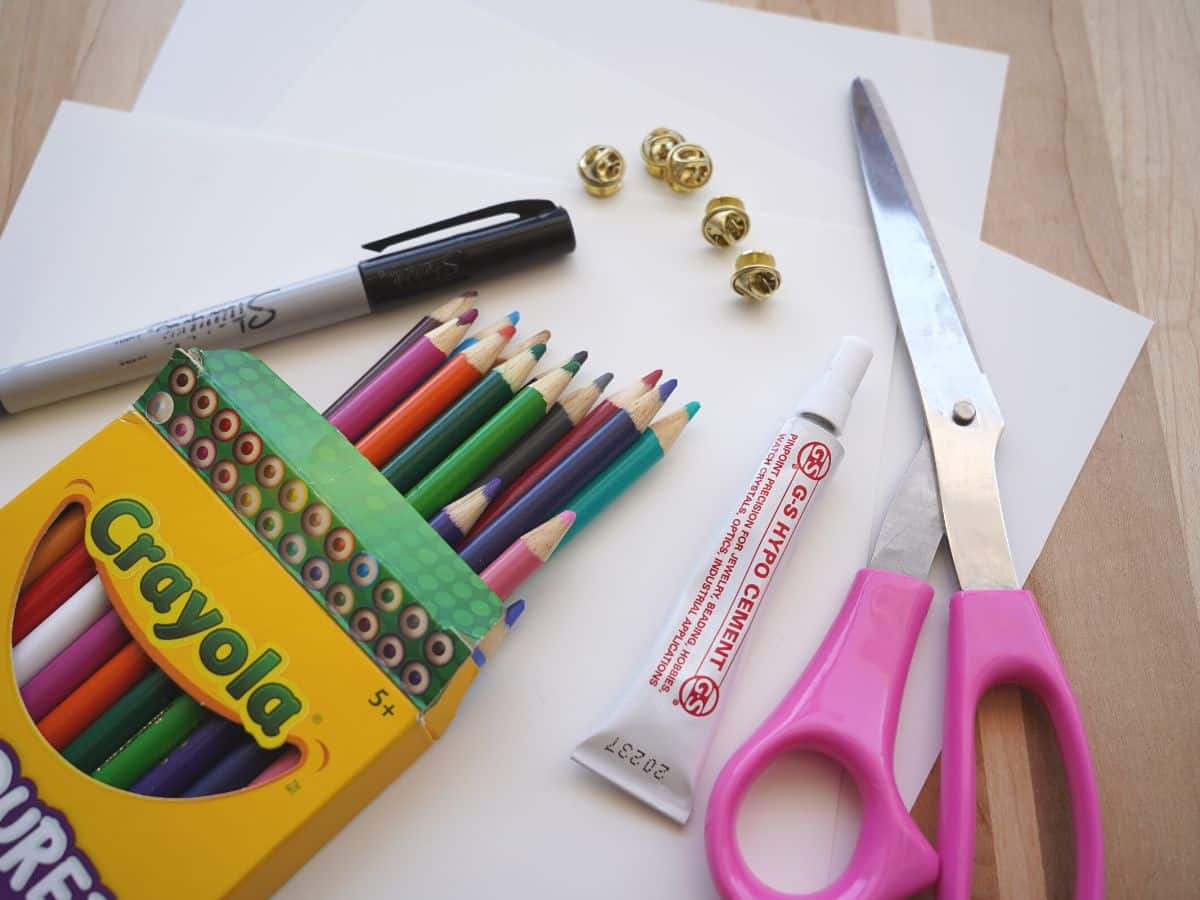
white Shrinky Dink paper
pencil
scissors
fine-tipped black permanent marker
pencil crayons
e-6000 glue
pin backers
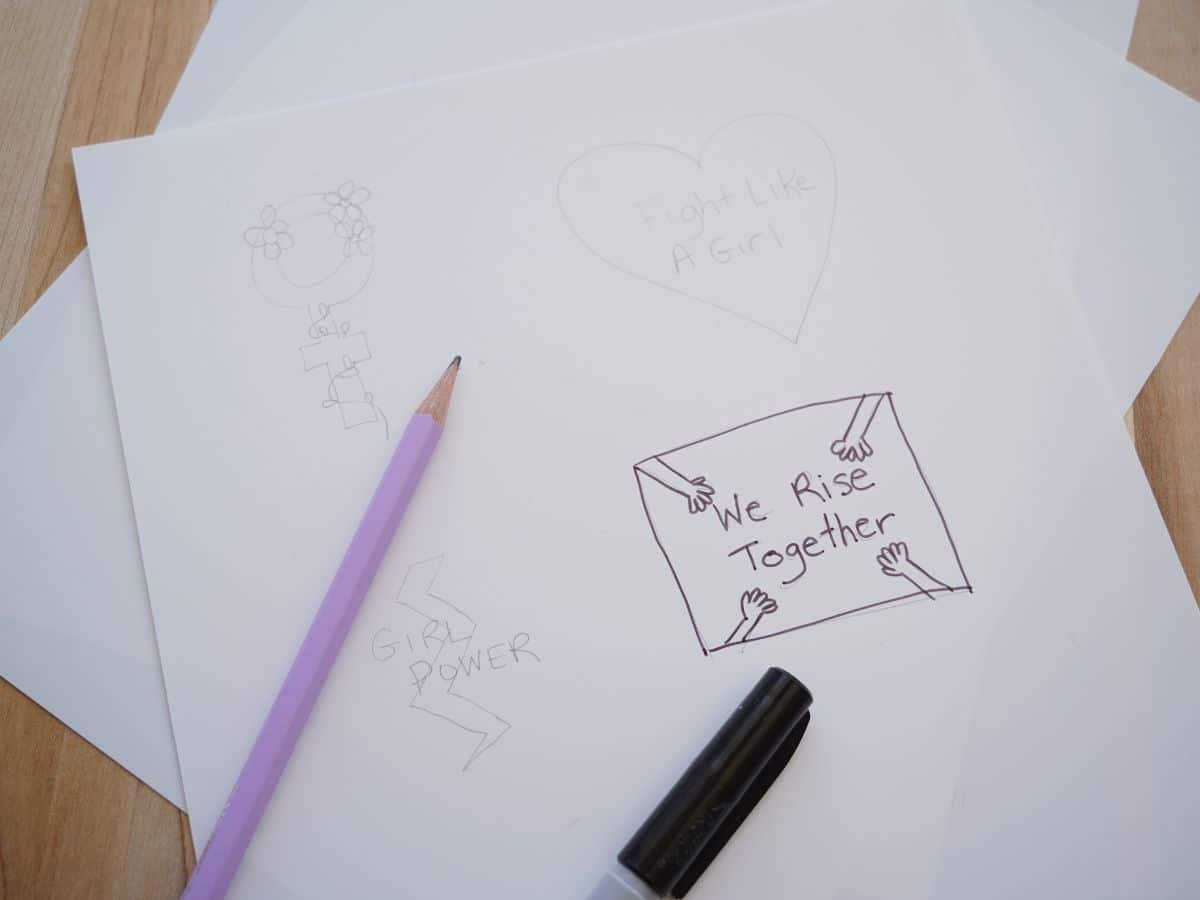
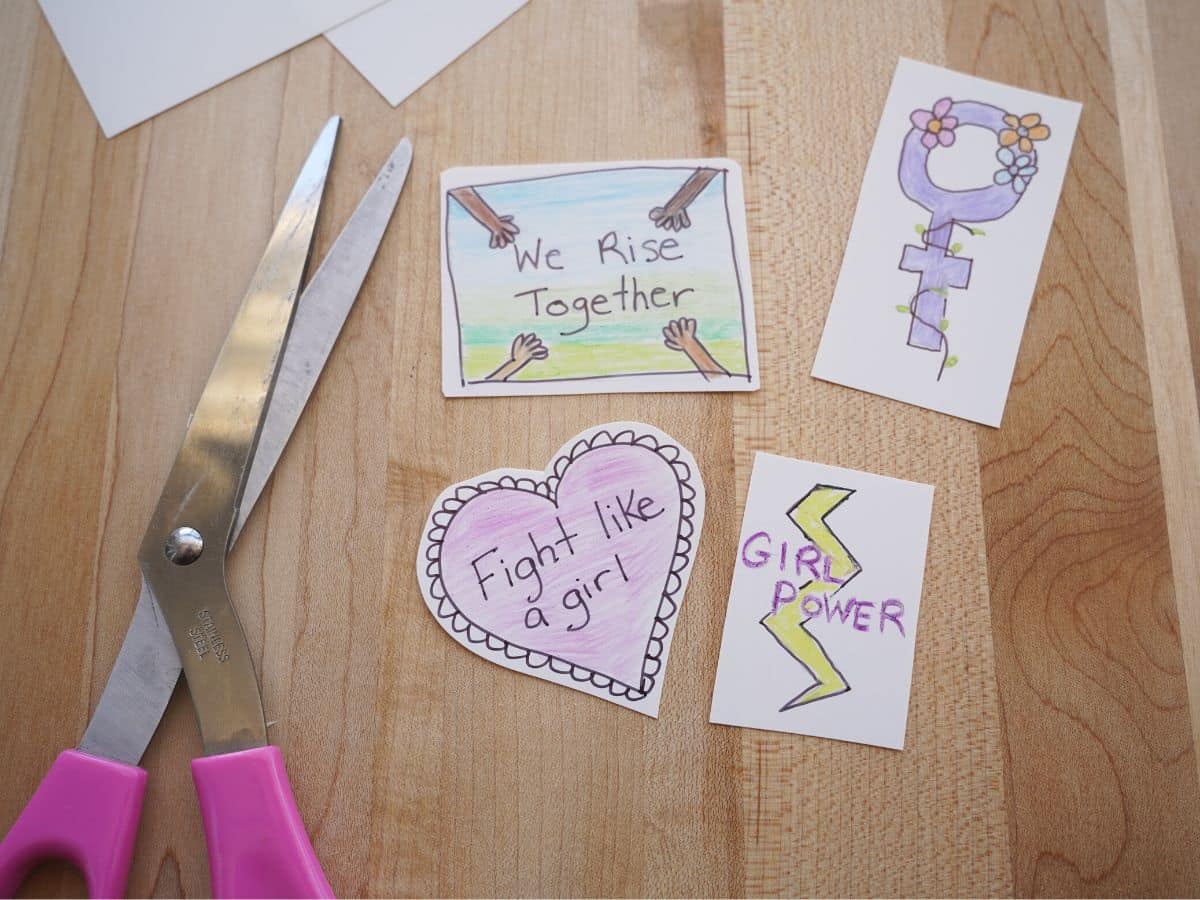
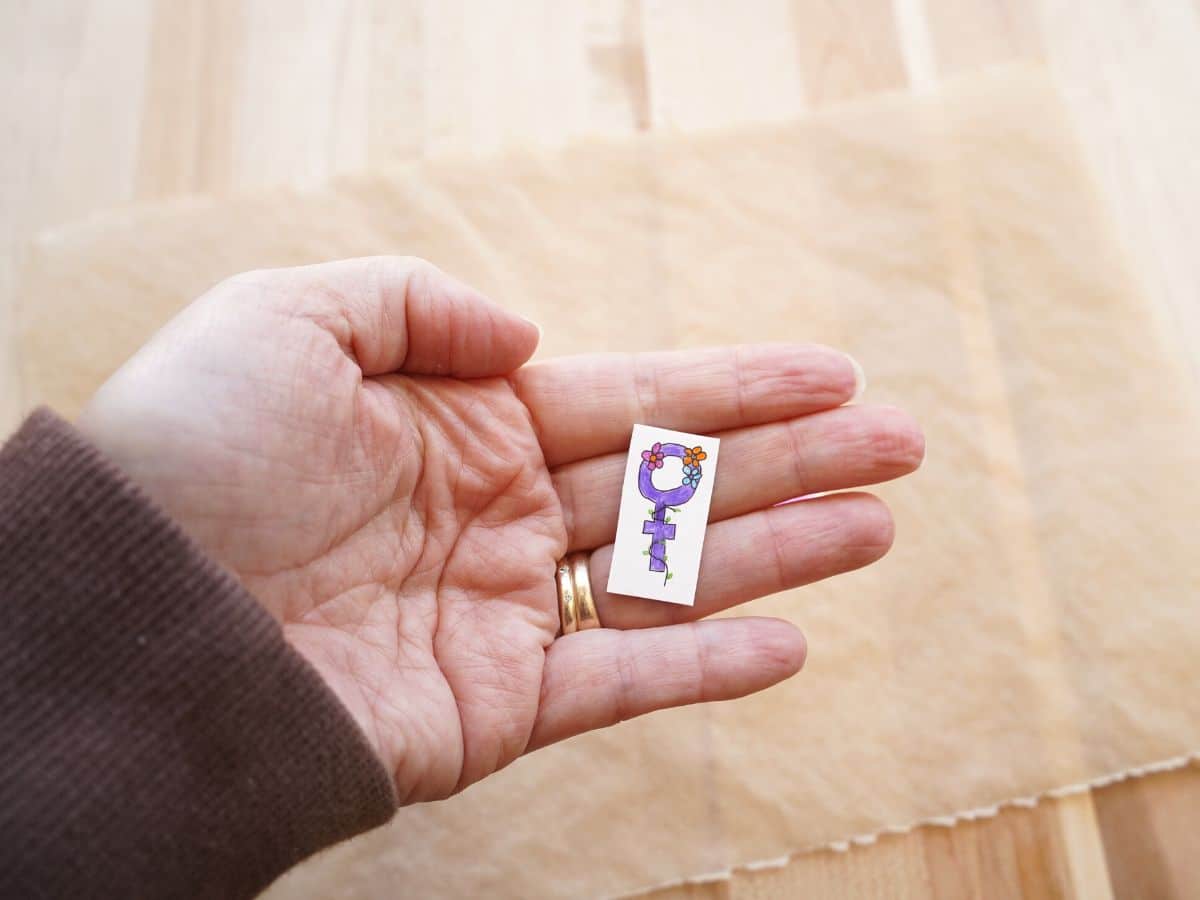
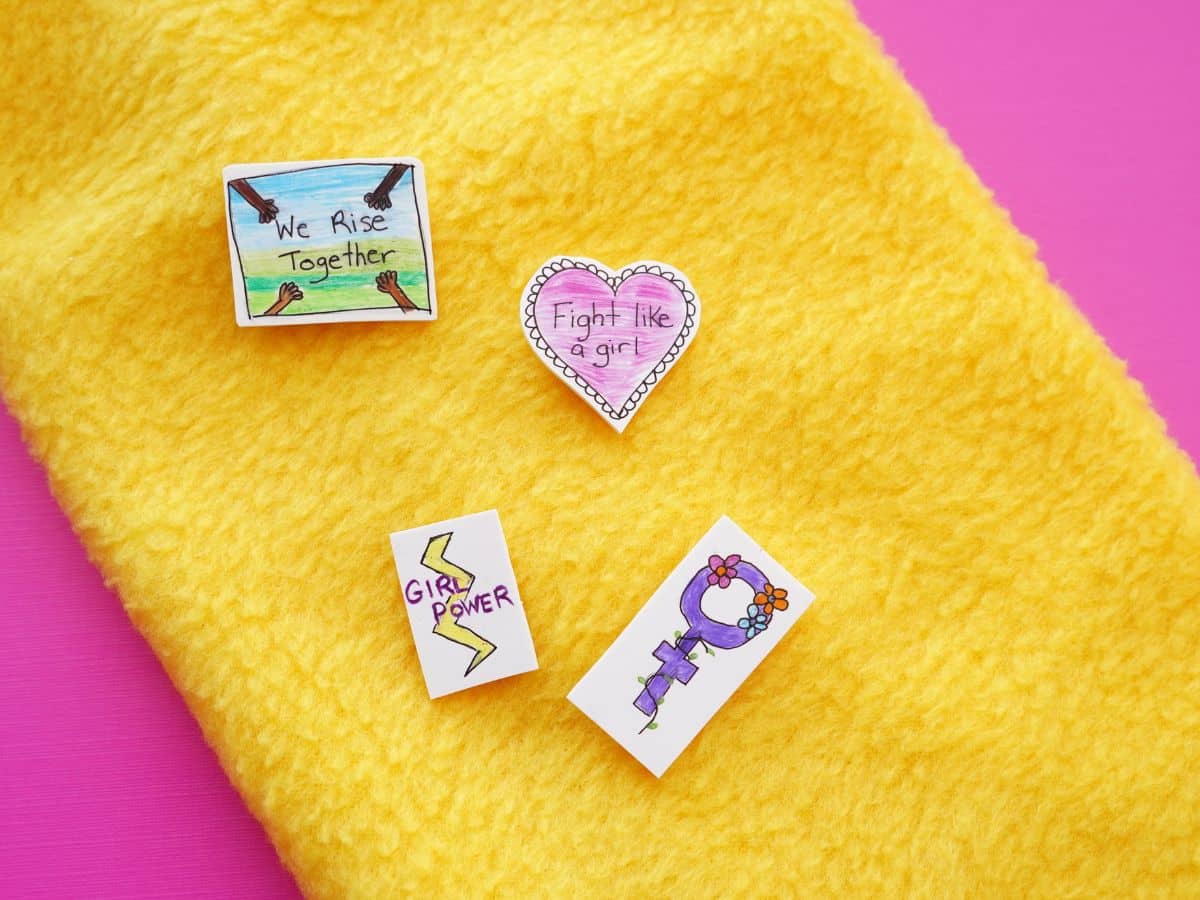
The first step in making these pins is drawing your designs, in pencil, on the Shrinky Dink paper. I took my inspiration from a few of my favorite feminist phrases. I liked the idea of "Girl Power" with a lightning bolt. And, "Fight Like a Girl" with a lacy heart. The "We Rise Together" pin has 4 hands joining together. And, the woman symbol is covered in flowers because that's what I liked. The original designs are about 2.5" in height and they shrink down to about 1". You could test a few different sizes first if you'd like totally accurate sizing for your pins.
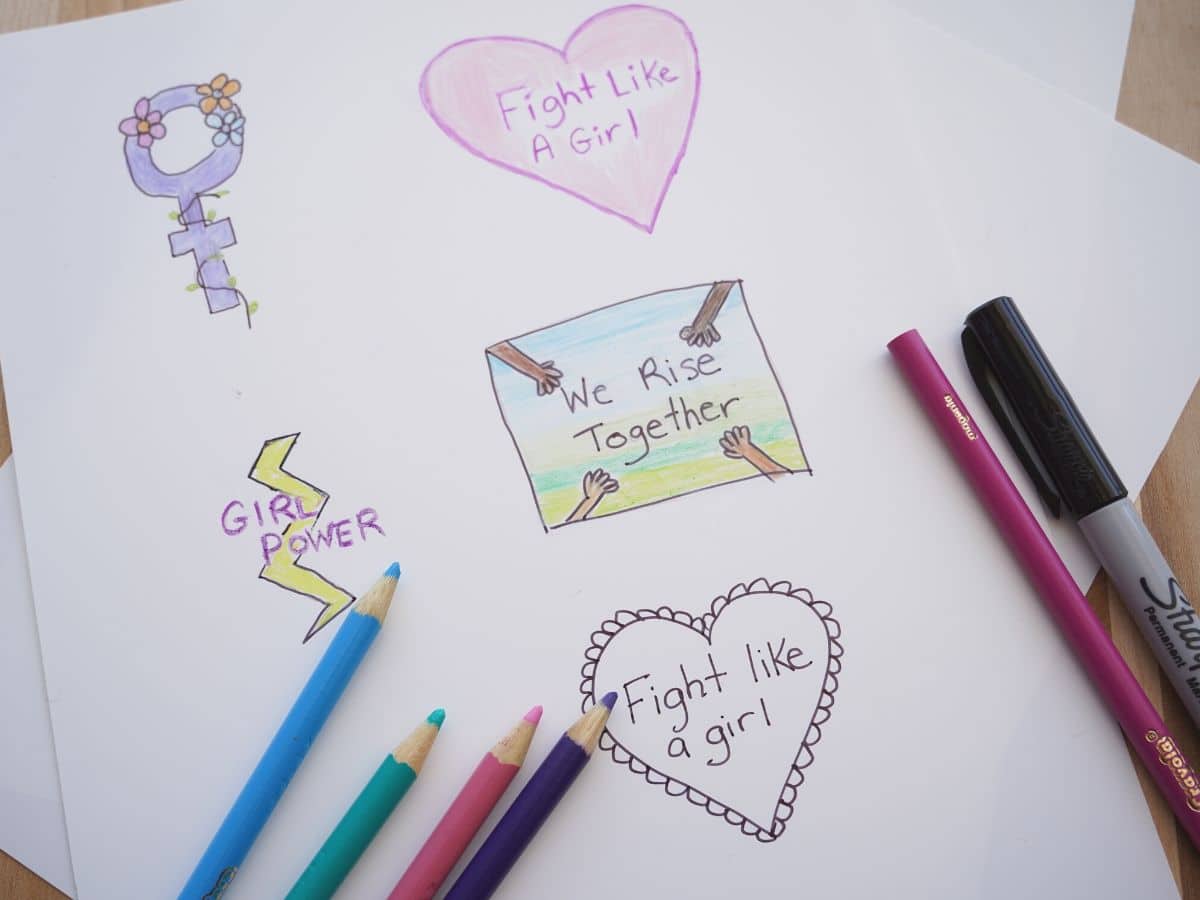
Once you have the designs drawn it's time to add some color. Remember when the pins shrink the colors will become darker in your designs. If you are using markers, make sure they are permanent, or they won't properly adhere to the paper. That's what happened with my first attempt at my "Fight Like A Girl" pin. The pink marker wasn't a permanent marker and it made a mess.
Next, cut out your individual pins. You can leave a border around your designs. I kept mine fairly square, I like the look of the squared pin. But, cut them out however you like.
Now is when you need to follow the baking instructions that came along with your paper. In my case, I placed the pins on a parchment paper lined baking sheet and popped them into a 325 F toaster oven for about 2 minutes. Make sure to give them time to curl, shrink, and flatten. After you pull them out of the oven I pressed them between two heavy books for a minute or two. I did this to make sure they were totally flat.
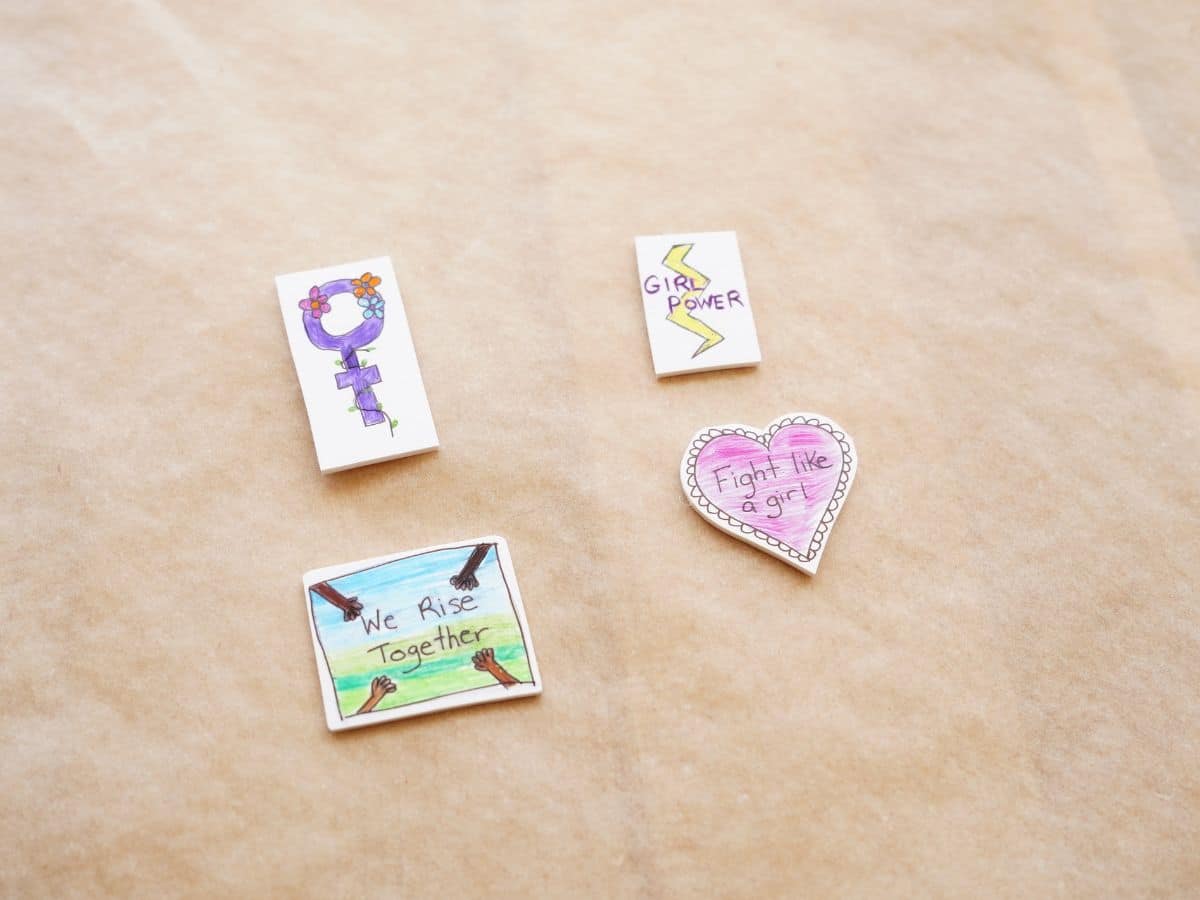
I love how these turned out. The white paper adds a nice white space to each design. They are firm and smooth and ready to be turned into pins.
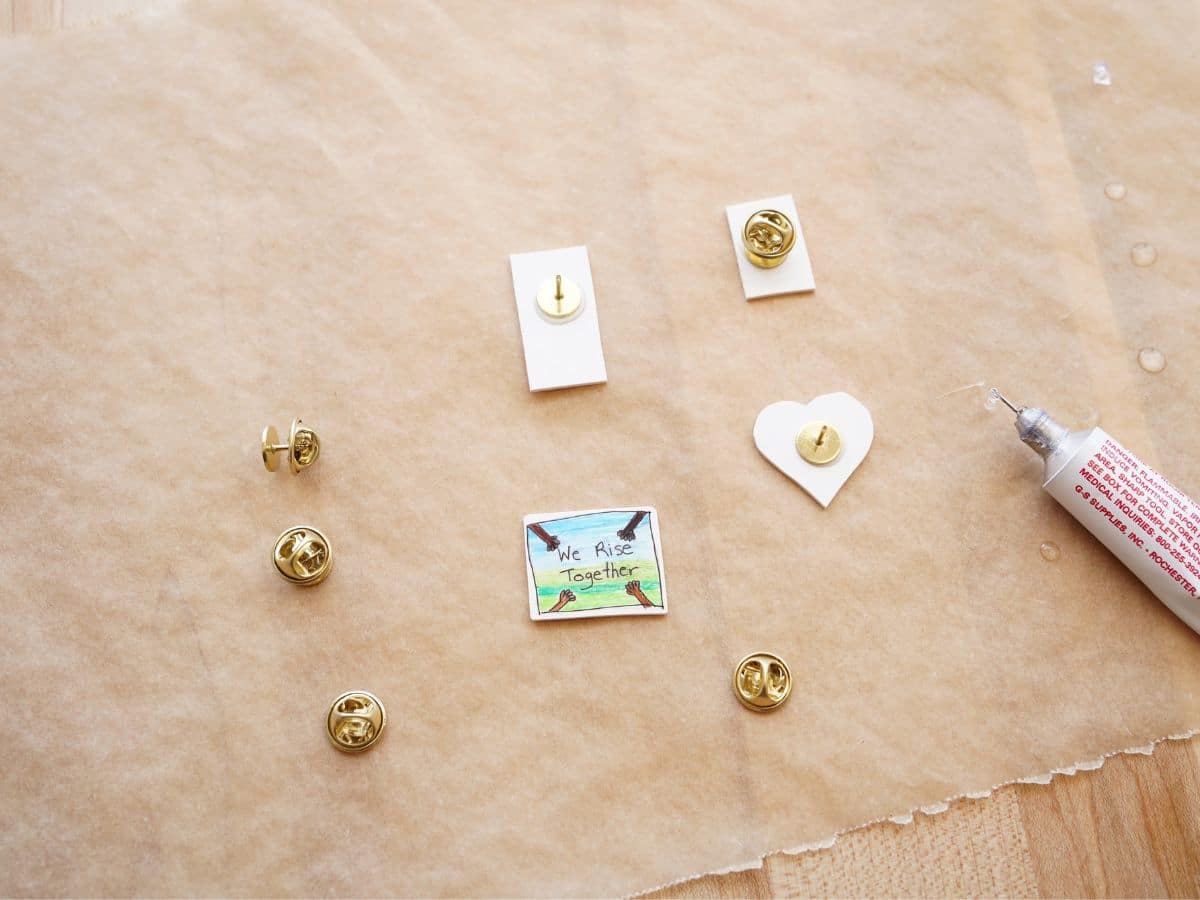
Turn the pins over and add a small dollop of glue to the pin and then press it onto the back of your pin. Again, follow the instructions on your glue. Our glue needed 15 minutes to dry completely.
Then it's time to wear your cool pins! Add them to a scarf, or a jean jacket. Trade them with your friends. Gift them to your teachers or coaches. This cool International Women's Day craft would be great for in the classroom. All you need is a toaster oven for the shrinking.
I cannot wait to make more pins for more holidays...I have a feeling this is going to become addictive!
More International Women's Day and Women's History Month ideas
Make sure you are following along...
FOLLOW KITCHEN COUNTER CHRONICLES ON
SUBSCRIBE TO KITCHEN COUNTER CHRONICLES TO HAVE OUR DELICIOUS RECIPES, FUN CRAFTS & ACTIVITIES DELIVERED DIRECTLY TO YOUR INBOX.