I love making Christmas crafts. I especially love making Christmas crafts that I can share. The front window in our living room is a big window. Every holiday season I like to create a different window display. It is almost like a storefront window...it's that big.
Disclosure: There are Amazon Affiliate links in this article which means, at no additional cost to you, we could receive compensation for our recommendations. You can read our full disclosure policy on our Disclosure Page for more details.
In previous years, I've filled the window with felt snowballs, shiny ornaments and even a cut paper Christmas village. However, this year I wanted to do something connected to all the COVID craziness. Since March we have been decorating our window with rainbow coloured designs. In the spring we made a colourful collage. For the summer we filled the window with giant colourful polka dots. To celebrate the fall we made a display of brightly coloured fall leaves. So, I knew that I needed to create something festive and colourful for the holidays.
How to Make a Giant Paper Christmas Light Garland
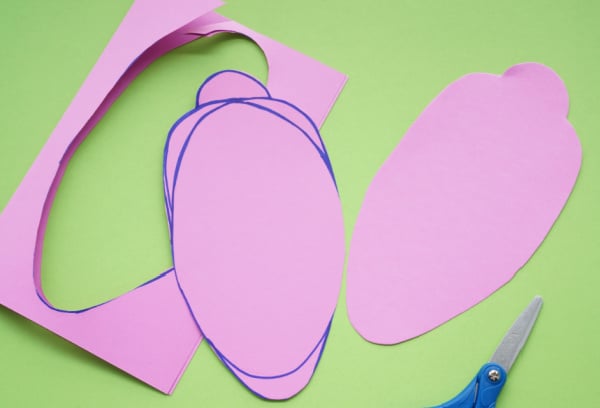
colourful cardstock - 3-4 different shades
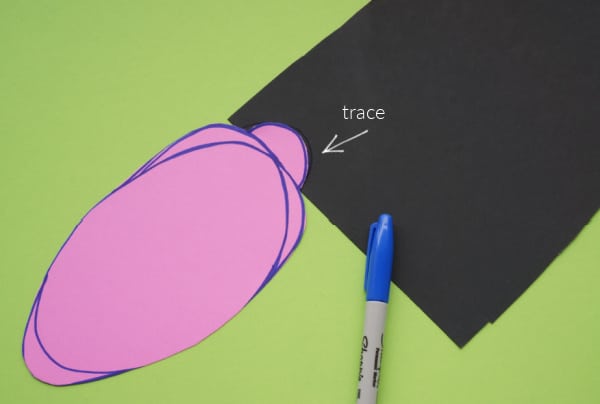
black cardstock or bristol board
cellophane tape
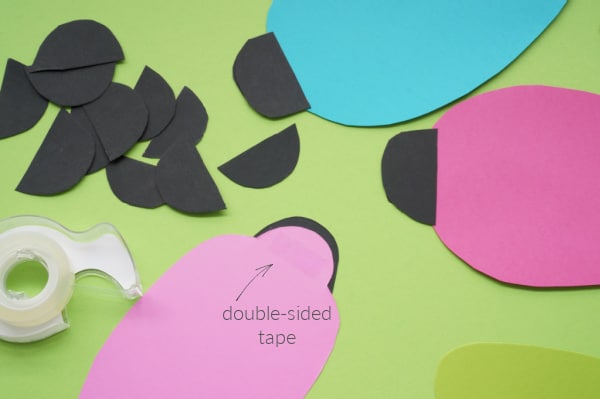
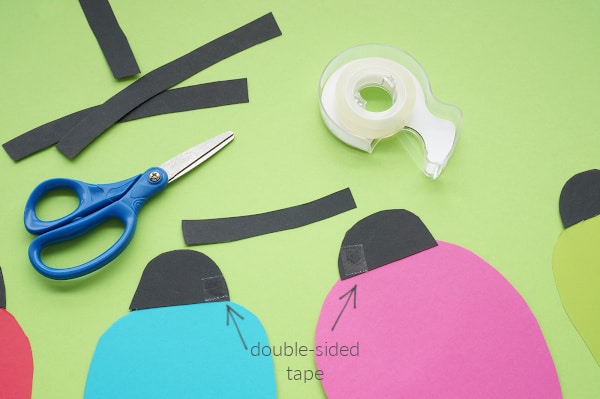
double-sided tape
scissors

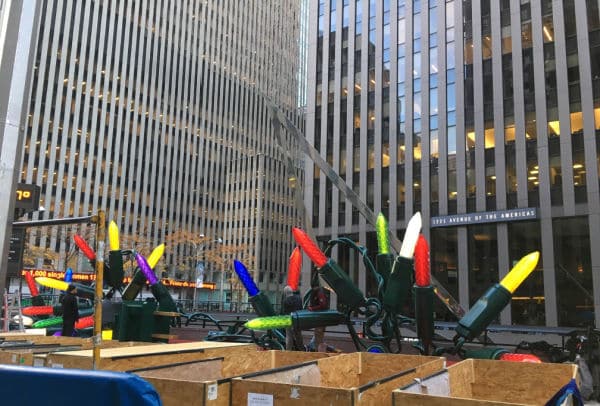
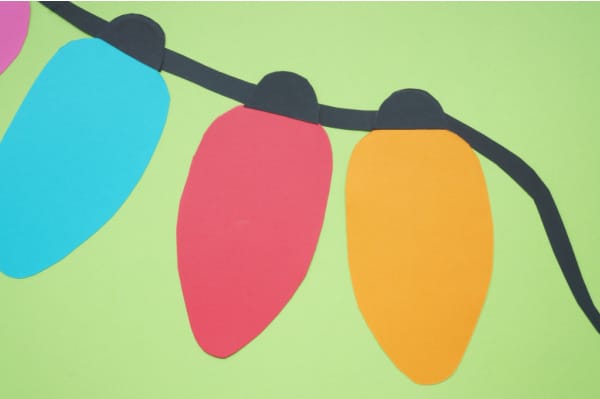
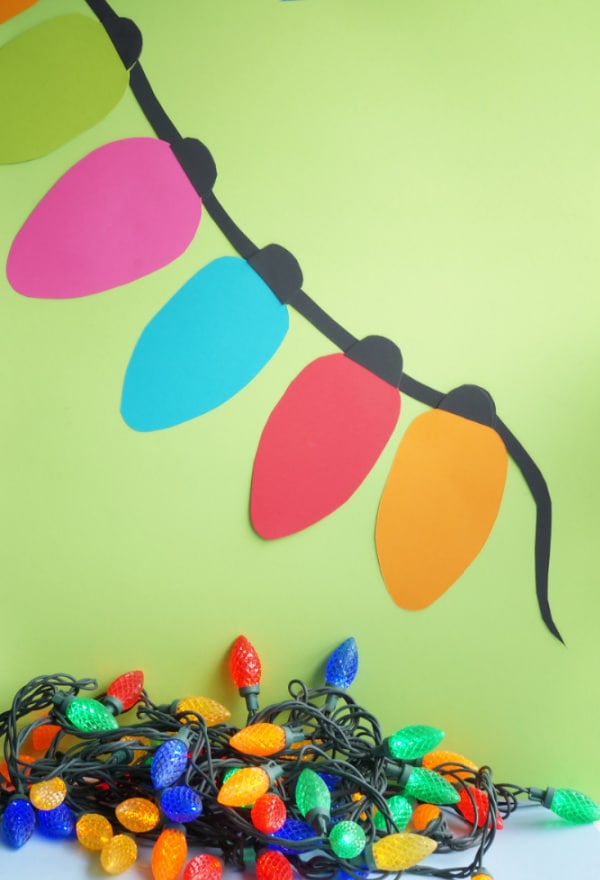
Okay, it's time to hang up the light bulbs (we will make the light cord in a minute). Take your time planning and moving the lights around. I used a small piece of tape to secure the bulbs to the window. Space the bulbs out in the same way that bulbs are spaced on a string of lights. If you are going to be hanging the lights on a wall, you will still need to tape the "cord" to the backside of the bulbs. You have two options (1) tape the lights in place and leave enough give for the lights to be lifted and the cord to be tucked behind the bulbs. Or, (2) make the light cord on a table and then flip it over and attach it to the wall when the cord is attached and the lights are fully assembled. That is what I've done in this example. Have fun with the arranging.

When you have all the lights hung up (or arranged on a flat surface), it's time to make the black cord. While it will look like one continuous electrical cord, it will actually be pieces of paper between 2 lightbulbs. To keep the proportions correct, cut ½" strips of black bristol board. I simply eye-balled the length...but you could totally use a ruler to measure the length. It's best to cut the strips with a bit of a curve in them...looks more natural than a straight strip of paper.
What colour combo will you use?
Related Posts
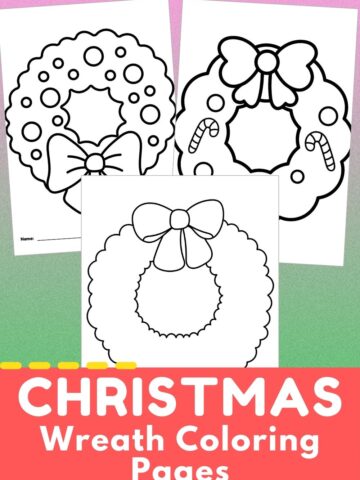
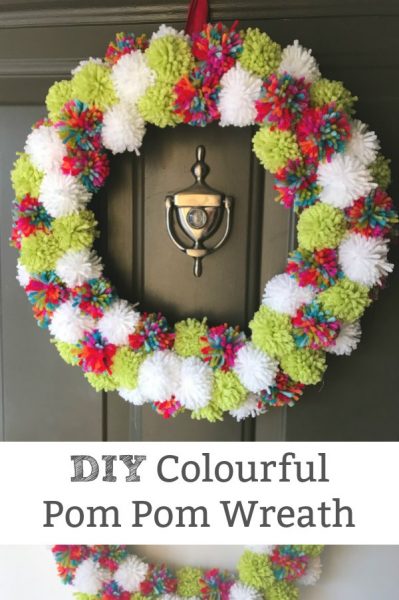 Our colourful Christmas pompom wreath is another amazing addition to your Christmas decor
Make sure you are following along...
SUBSCRIBE TO KITCHEN COUNTER CHRONICLES TO HAVE OUR DELICIOUS RECIPES, FUN CRAFTS & ACTIVITIES DELIVERED DIRECTLY TO YOUR INBOX.
FOLLOW KITCHEN COUNTER CHRONICLES ON
FACEBOOK:: PINTEREST :: TWITTER::INSTAGRAM