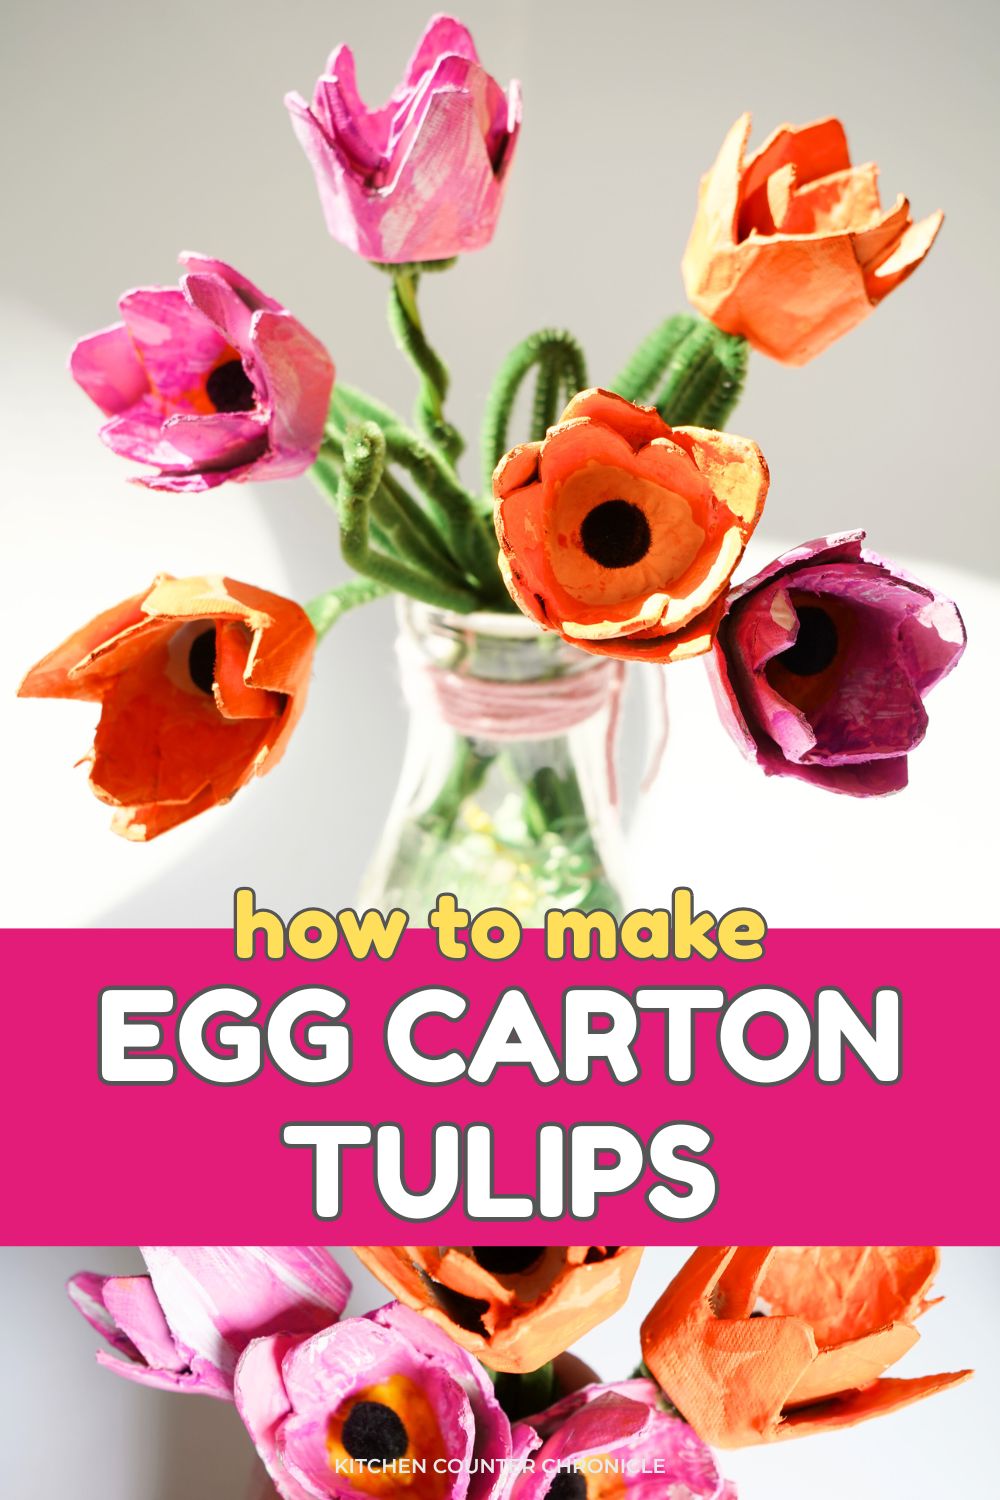
I do love a craft that celebrates the springtime. We've made all kinds of lovely egg carton flower crafts over the years. I've shared how to make the simplest egg carton flowers with kids to more intricate egg carton daffodils. We have turned them into wreaths and bouquets. This time around, I wanted to create a bouquet of egg carton tulips.
Disclosure: There are Amazon Affiliate links in this article which means, at no additional cost to you, we could receive compensation for our recommendations. You can read our full disclosure policy on our Disclosure Page for more details.
I picked up a bouquet of orange tulips the other day. When I brought them home, I thought that I could make my own tulips...from egg cartons. So, I decided to take inspiration from real orange and pink tulips and made a vase full of tulips that I can enjoy well beyond the spring.
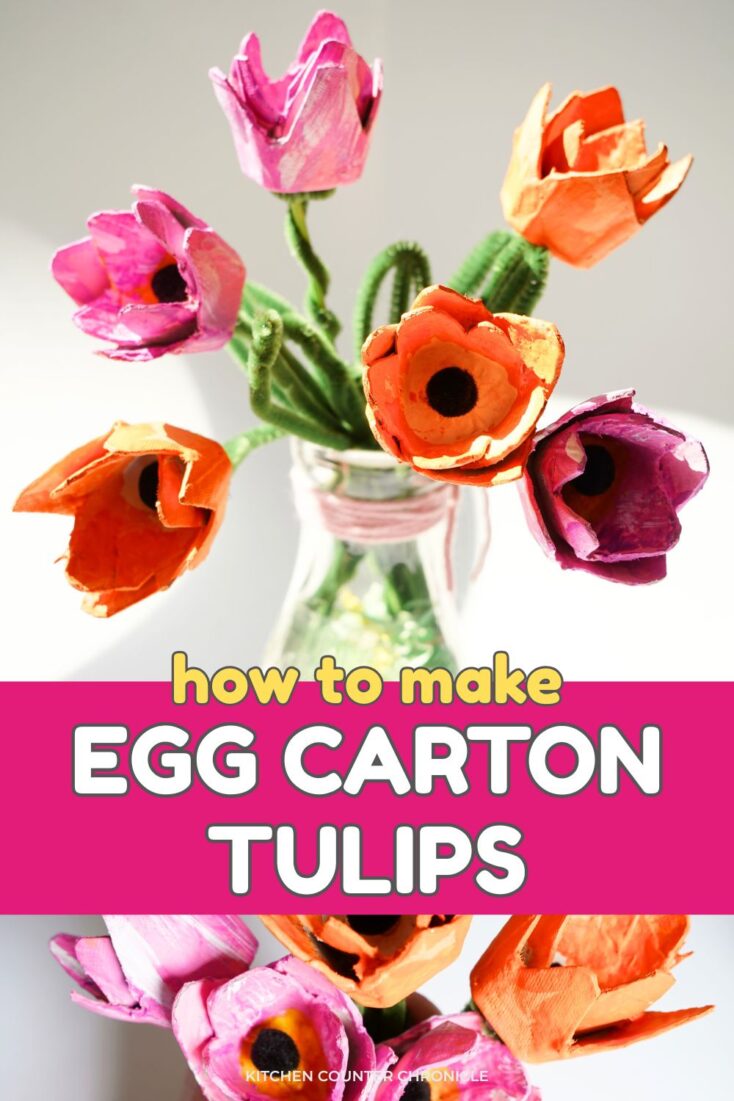
How to Make Egg Carton Tulips
Craft Supplies Needed:
cardboard egg carton
scissors
glue gun
acrylic paints - pink, orange, white, yellow
small, black pompoms
green pipe cleaners
long wooden skewers (optional)
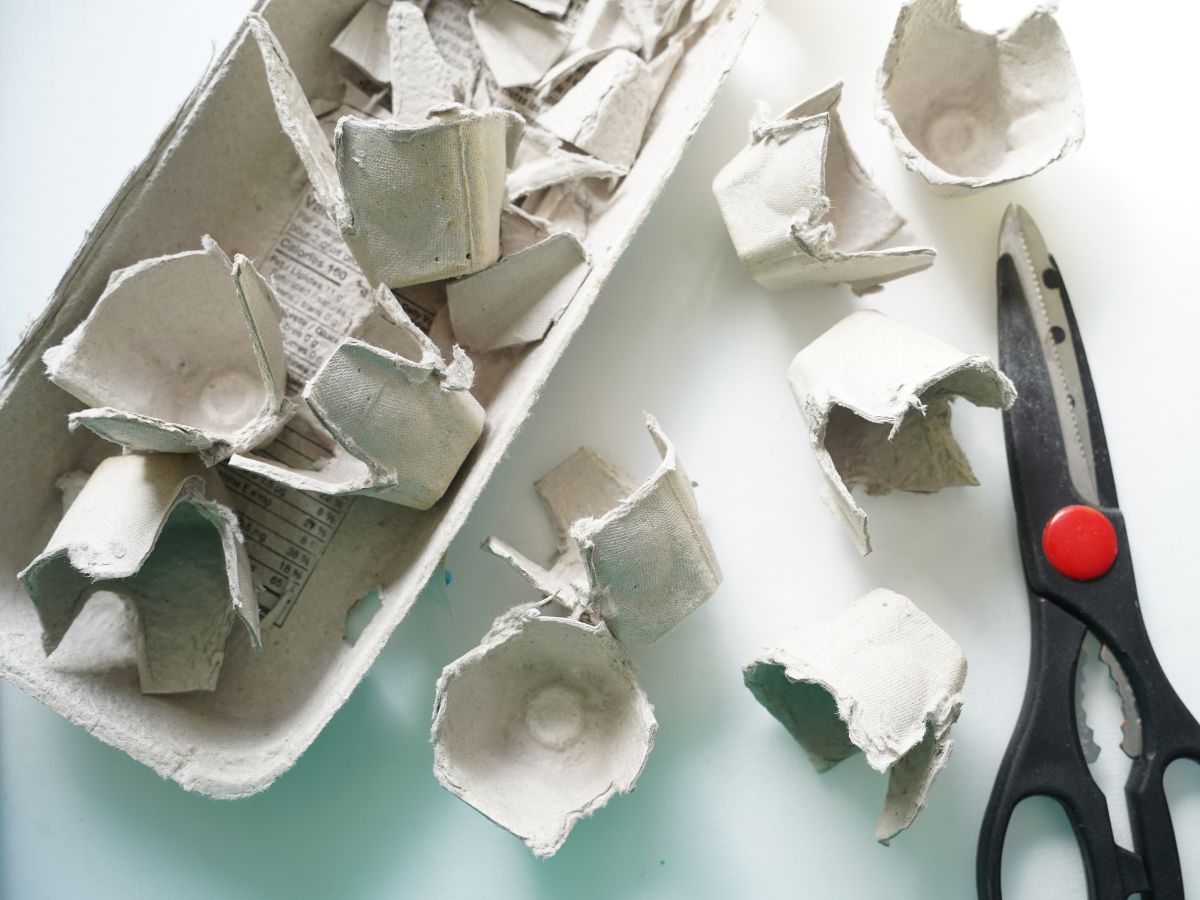
Okay, let's begin by breaking down our clean, cardboard egg cartons. I collect the egg cartons we use so that I always have a few on hand for crafting. For these tulips, each flower will need 2 egg carton cells, or the little cups that hold an egg. So, a standard dozen egg carton will make 6 tulips. Begin by cutting the egg carton into single cells.
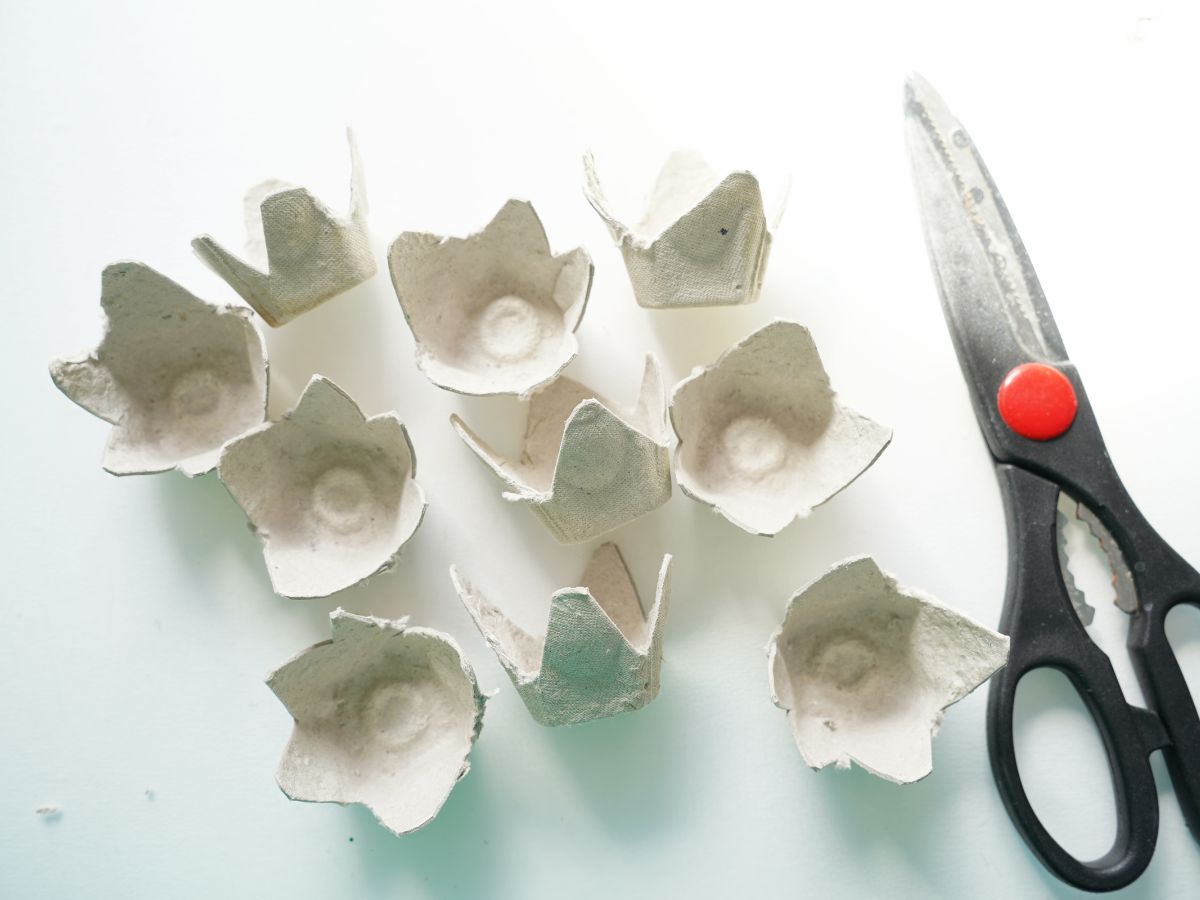
Once you have individual sections, it is time to cut the petals of the tulips. I found that tulip petals are large and oval, so I was able to cut 4 or 5 petals into each egg carton section. I based my tulips on standard tulips, and I wanted to recreate the layered look of the flowers.
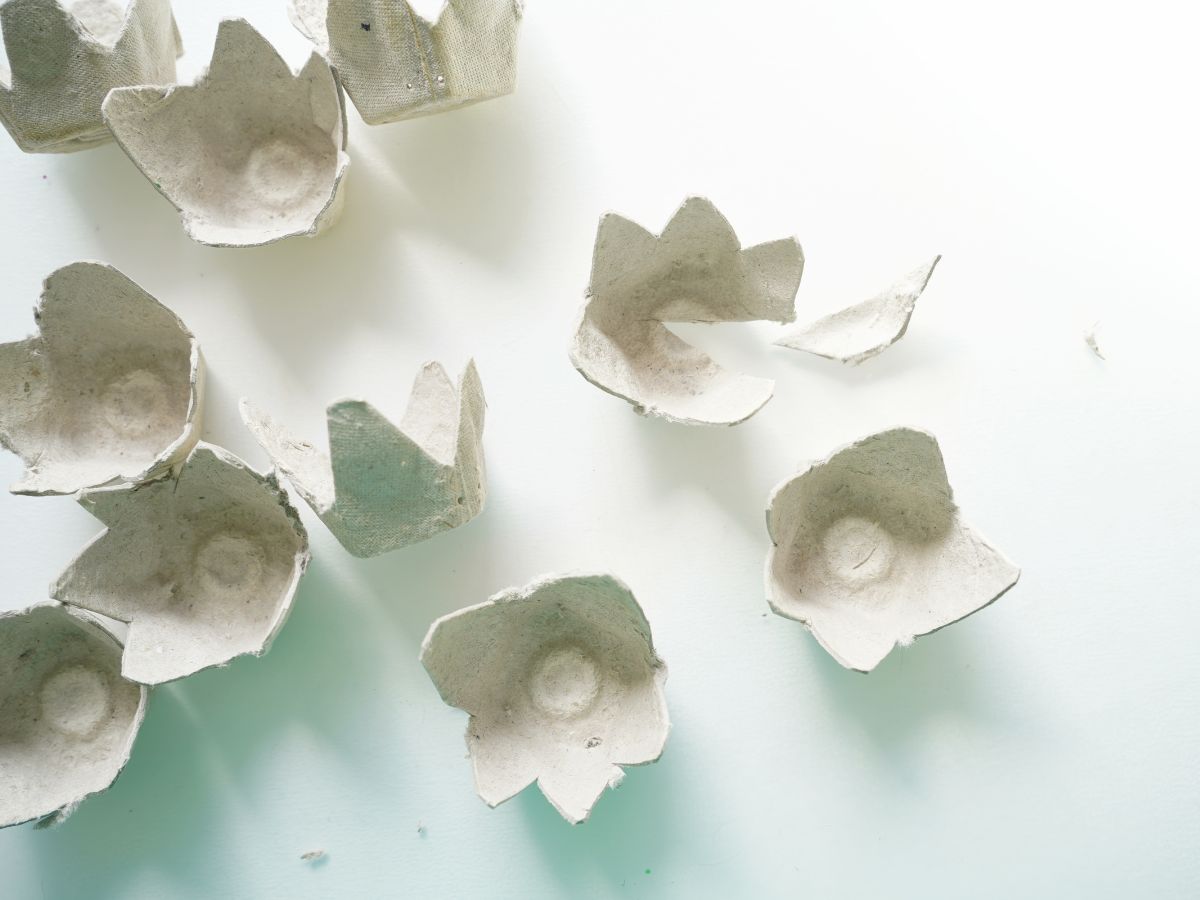
To make the layered look, we need to cut a segment out of half the carton segments. This cutout will allow the egg carton to be folded over itself and become smaller to fit inside the cell that doesn't have a cutout.
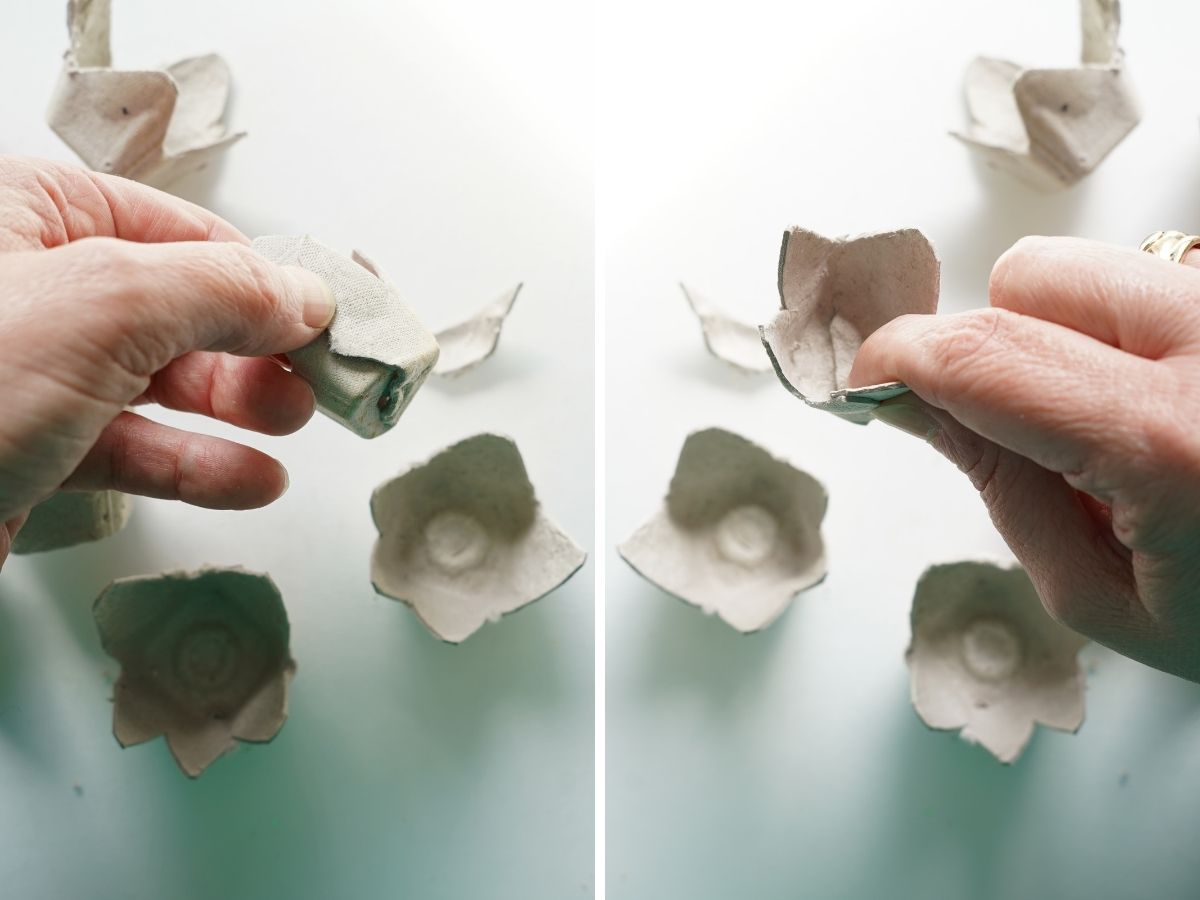
You can see in this image what I mean. One piece has a small slice removed and is then folded, and with a glue gun, I adhered the overlapped ends together. Once the glue had cooled I then glued this piece inside the larger egg carton flower. Creating a 2-layer tulip flower head.
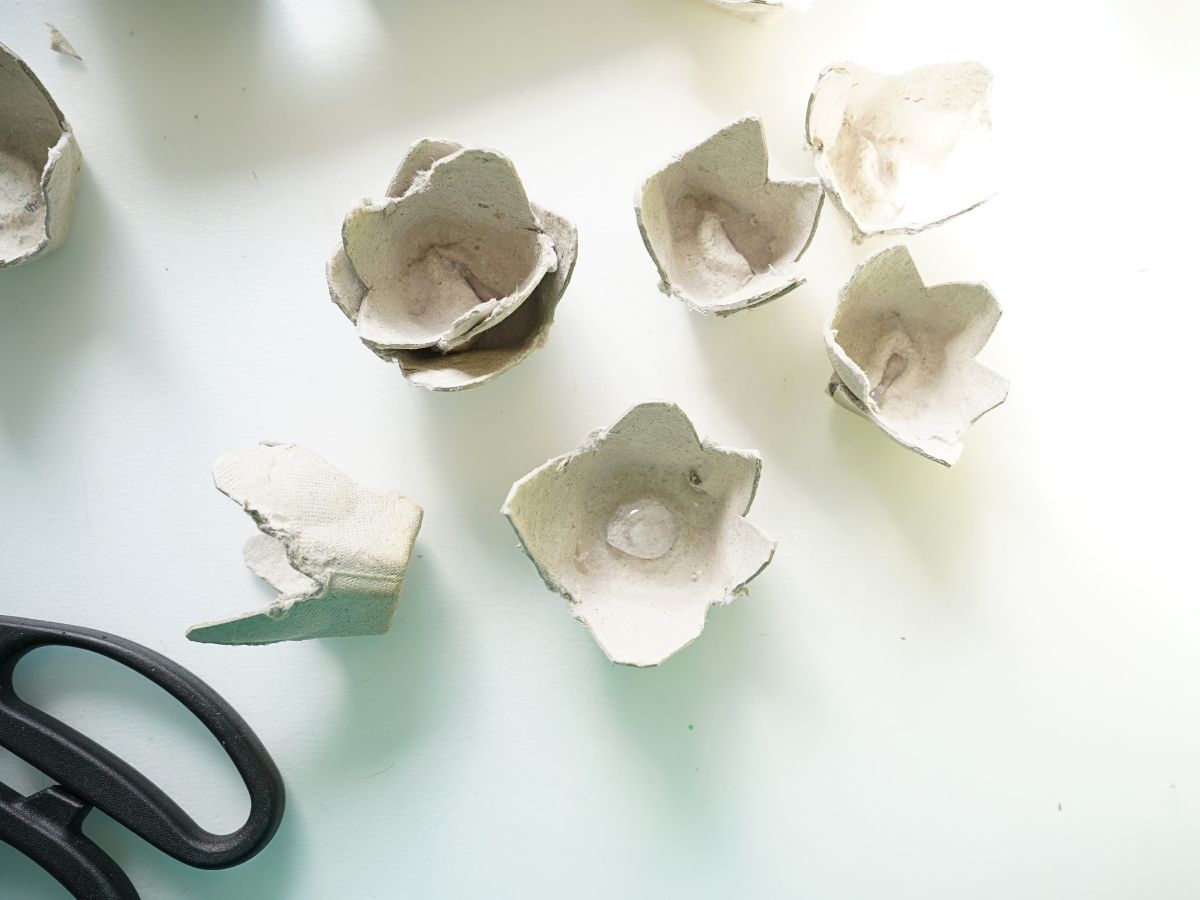
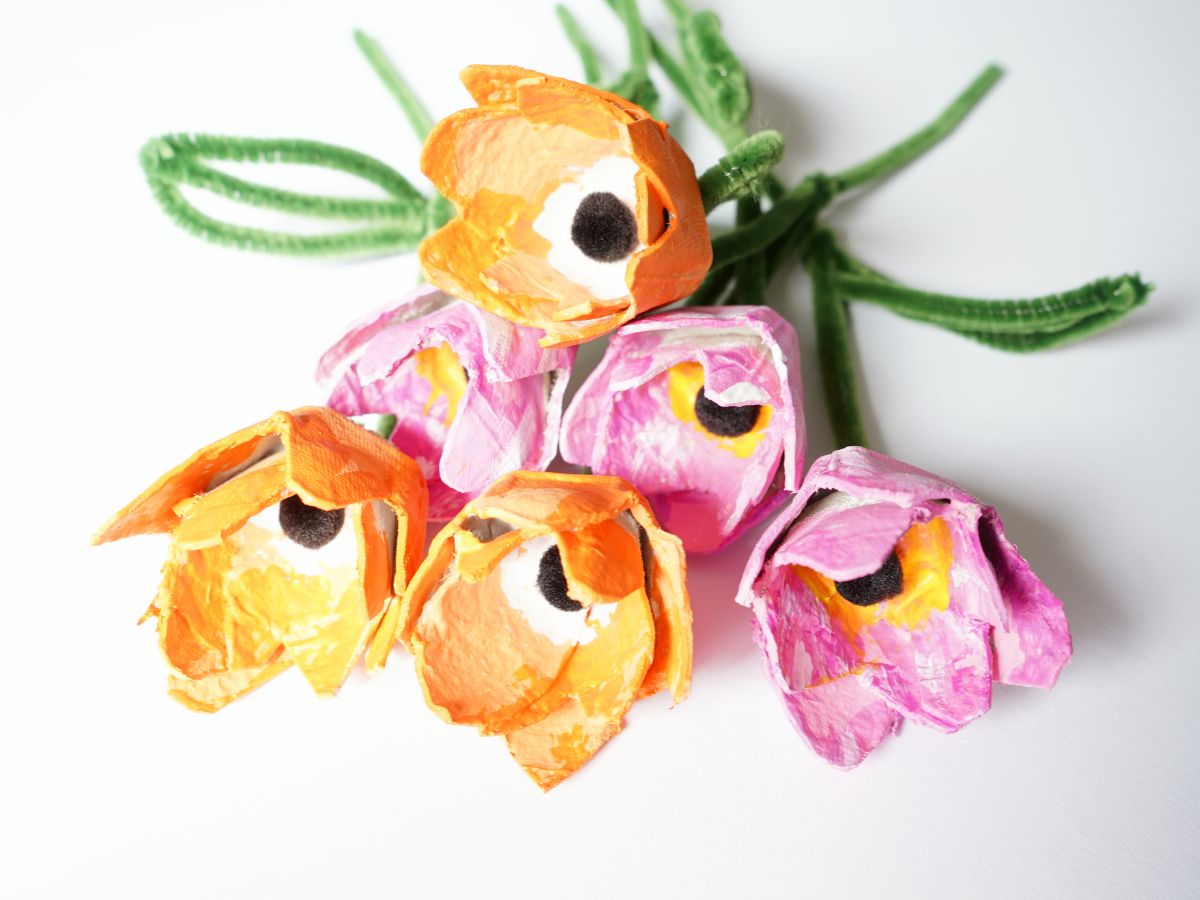
You can take a moment to trim the flower petals as you like. Make any final cuts because now it's time to paint the tulips. Using acrylic paints paint the layers of the tulips. I chose pink and orange tulips, but you could use any color you like. I started by painting a solid layer of paint and then my second coat of paint was a little lighter. I lightened the paint by adding some white to the base color. I finished the tulips by adding some streaks of white to the outside petals and painting a bright yellow centre to the flowers. When I looked at images of real tulips, they all had bright white or yellow centers.
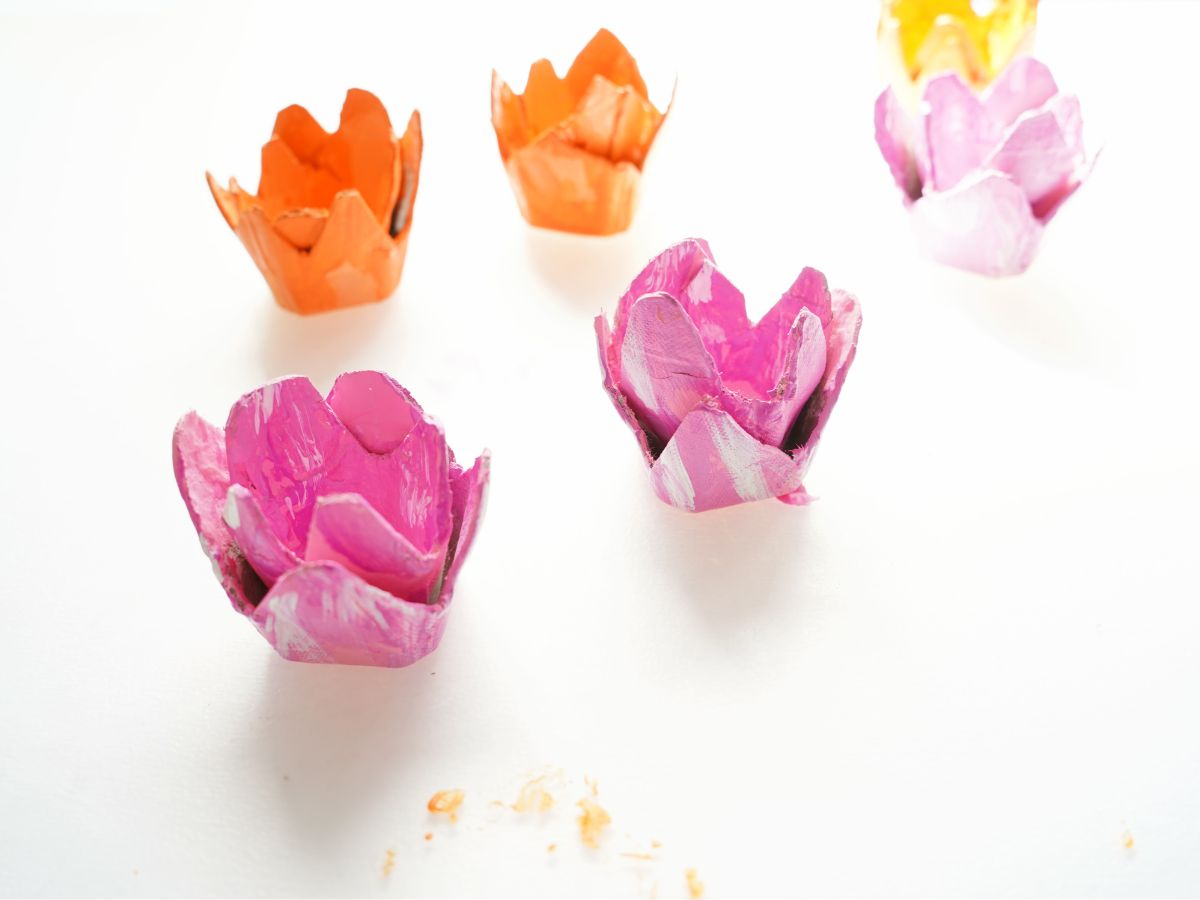
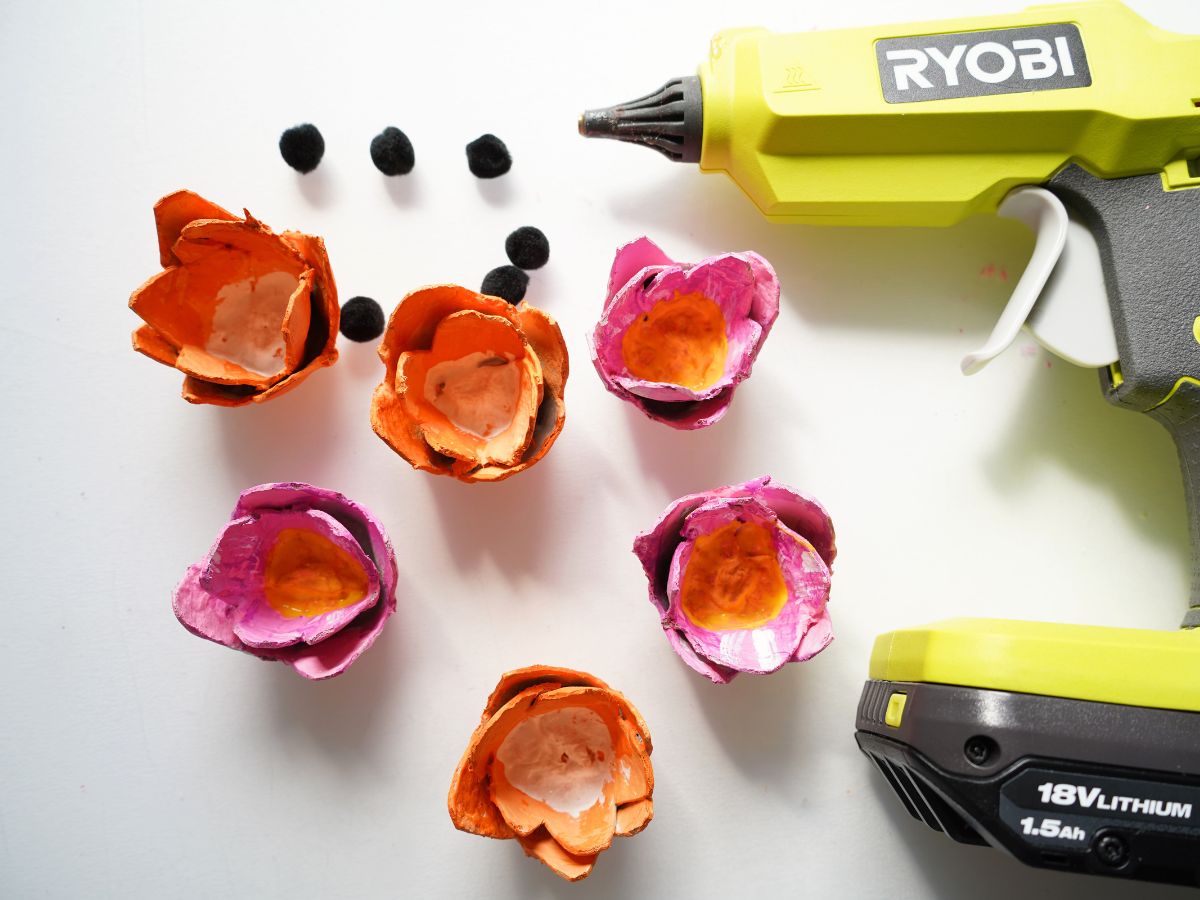
Once the paint had dried, it was time to add the little black pompom centers to each flower. Again, I used the hot glue gun to secure the pompom in place. I only added one pompom, but I think they would look cute with 3 pompoms. Maybe I'll try that next time. Set the flower heads aside, it is time to make the stems
How to Make Pipe Cleaner Flower Stems
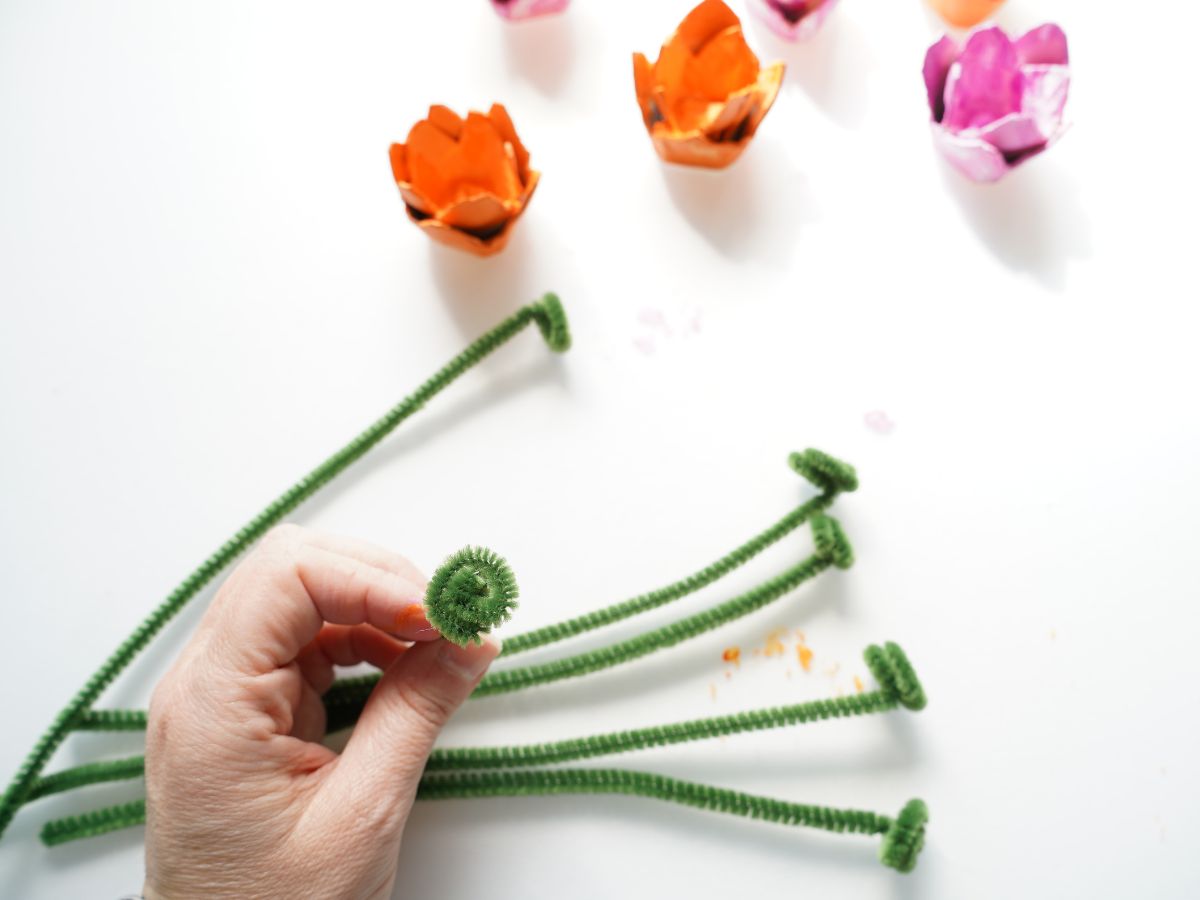
To make the pipe cleaner flower stems begin by tightly winding one end of the pipe cleaner and pressing it flat. This will be the end that is glued to the egg carton flower head, so it needs to lay flat.
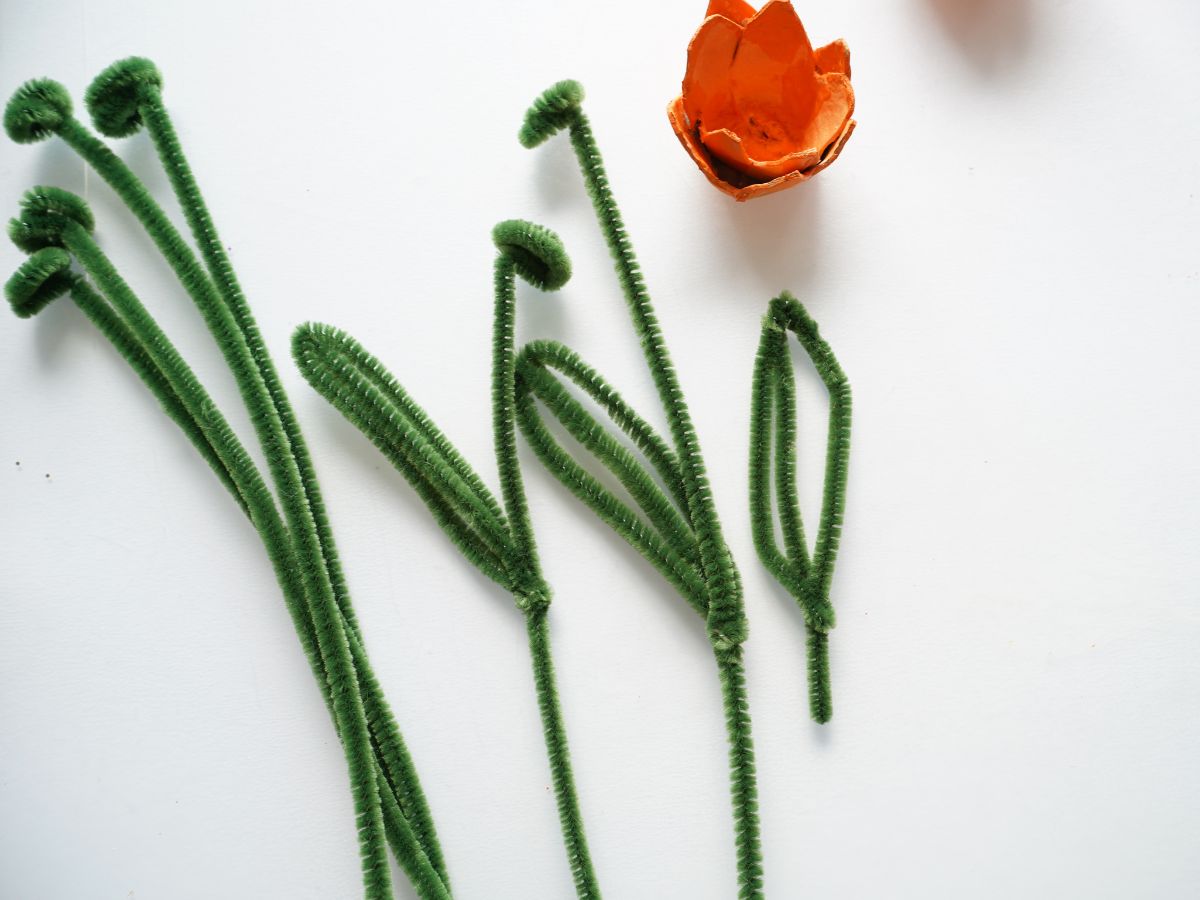
To make the leaf, fold a green pipe cleaner in half, the bend will be the top of the leaf. Then, determine how large a leaf you want to make by folding the pipe cleaner back up toward the bend, creating the center line of the leaf. Fold the tip of the pipe cleaner over the top of the leaf. You can now use the tail end of the leaf to wrap around the stem pipe cleaner and hold the leaf in place. Shape the leaf however you like. Tulips usually have long, thin leaves, which is how I shaped mine.
Now use a dollop of hot glue to adhere the flat piece of the pipe cleaner stem to the egg carton flower head. You now have a lovely and droopy egg carton tulip.
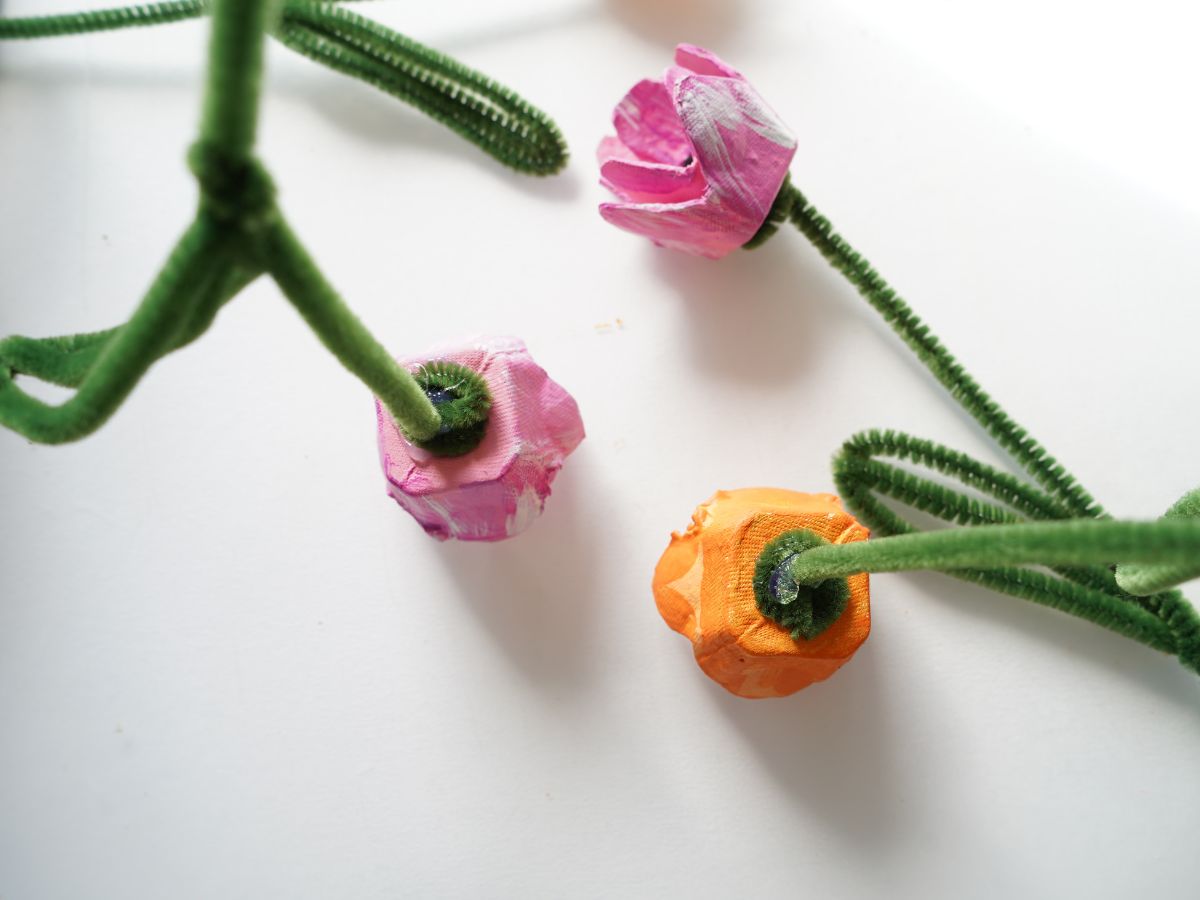
I wanted to create some droopy tulips and some firmer tulips. For a firm tulip that will stand upright, you will need to paint a wooden skewer green. When it has dried, tuck the flat end of the skewer into the flat underside of the tulip head and wrap the pipe cleaner stem around the skewer. Now you have a firm pipe cleaner flower stem.
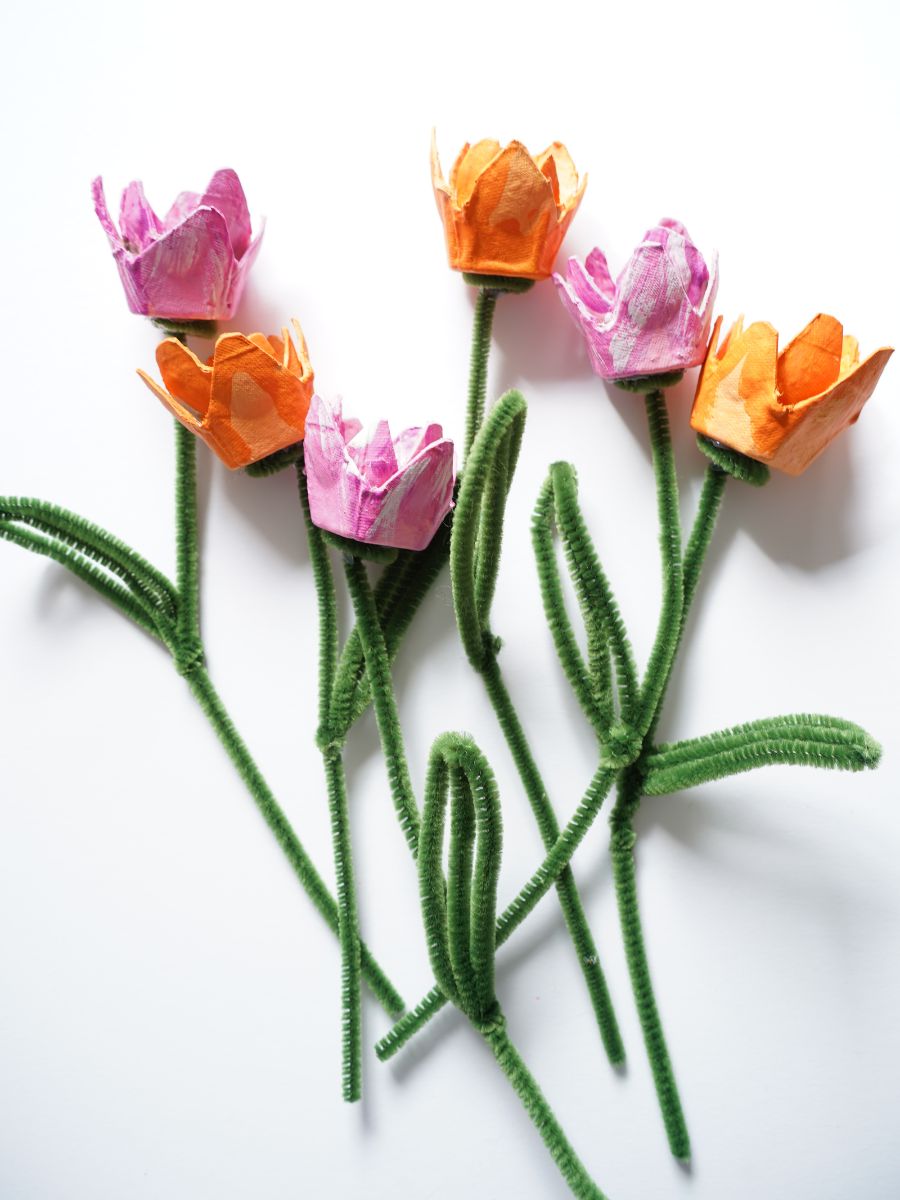
I also wanted some sort of droopy stems. For these, I simply wrapped a second pipe cleaner around the first stem pipe cleaner. Two pipe cleaners gave me a stem that wasn't totally droopy and that I could still move into a droopiness that I liked.
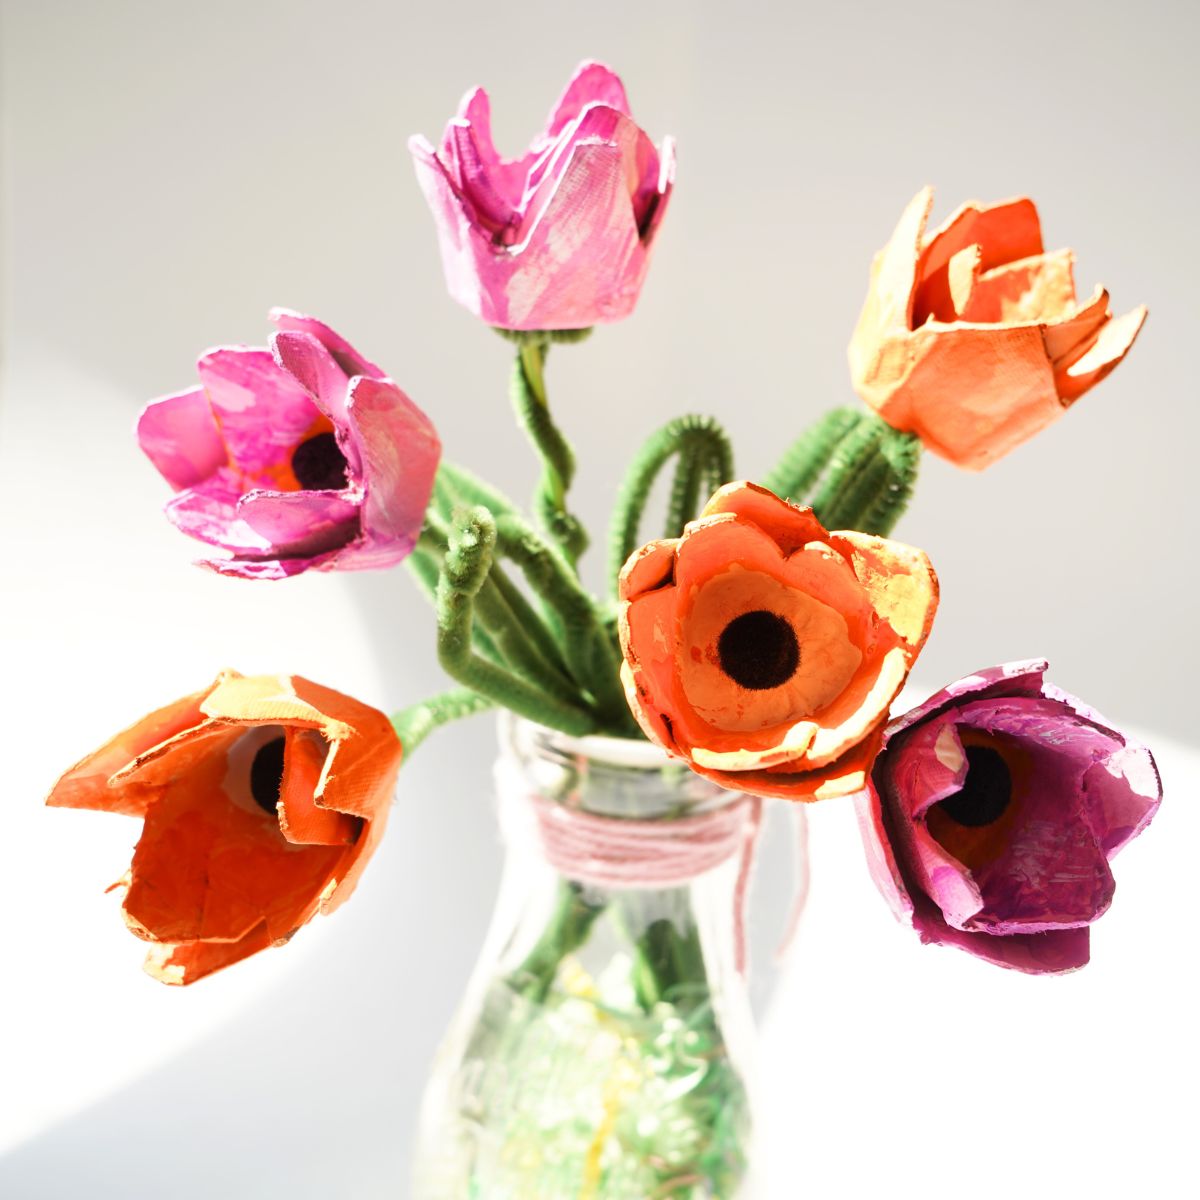
I then placed my bouquet of egg carton tulips into a vase, and I have to say that I love them! I love how they turned out. I want to attempt making more colors of tulips. This is such a lovely springtime craft project to make with or without the kids. What color would you like to make?

Check out all of our creative spring craft projects
Make sure you are following along...
FOLLOW KITCHEN COUNTER CHRONICLES ON
SUBSCRIBE TO KITCHEN COUNTER CHRONICLES TO HAVE OUR DELICIOUS RECIPES, FUN CRAFTS & ACTIVITIES DELIVERED DIRECTLY TO YOUR INBOX.




Leave a Reply