

Are you ready for this amazing Easter egg craft project? It is truly out of this world awesome. We had so much fun transforming ordinary eggs into beautiful galaxy easter eggs. This is a creative Easter craft for older kids and adults to make and share.

Disclosure: There are Amazon Affiliate links in this article which means, at no additional cost to you, we could receive compensation for our recommendations. You can read our full disclosure policy on our Disclosure Page for more details.
As kids get older, they aren't always as keen to make crafts. But I still love making crafts, and I want them to hold on to their crafty passion. This is why I love following my kid's passion. When I noticed that my kids were spending so much time investigating outer space, I thought it would be fun to make out-of-this-world galaxy Easter eggs.
How to Make a Galaxy Easter Egg Craft
Supplies you will need:
craft Easter eggs
acrylic paints - black, purple, green, yellow
gold glitter
mod podge
paint brush
toothbrush
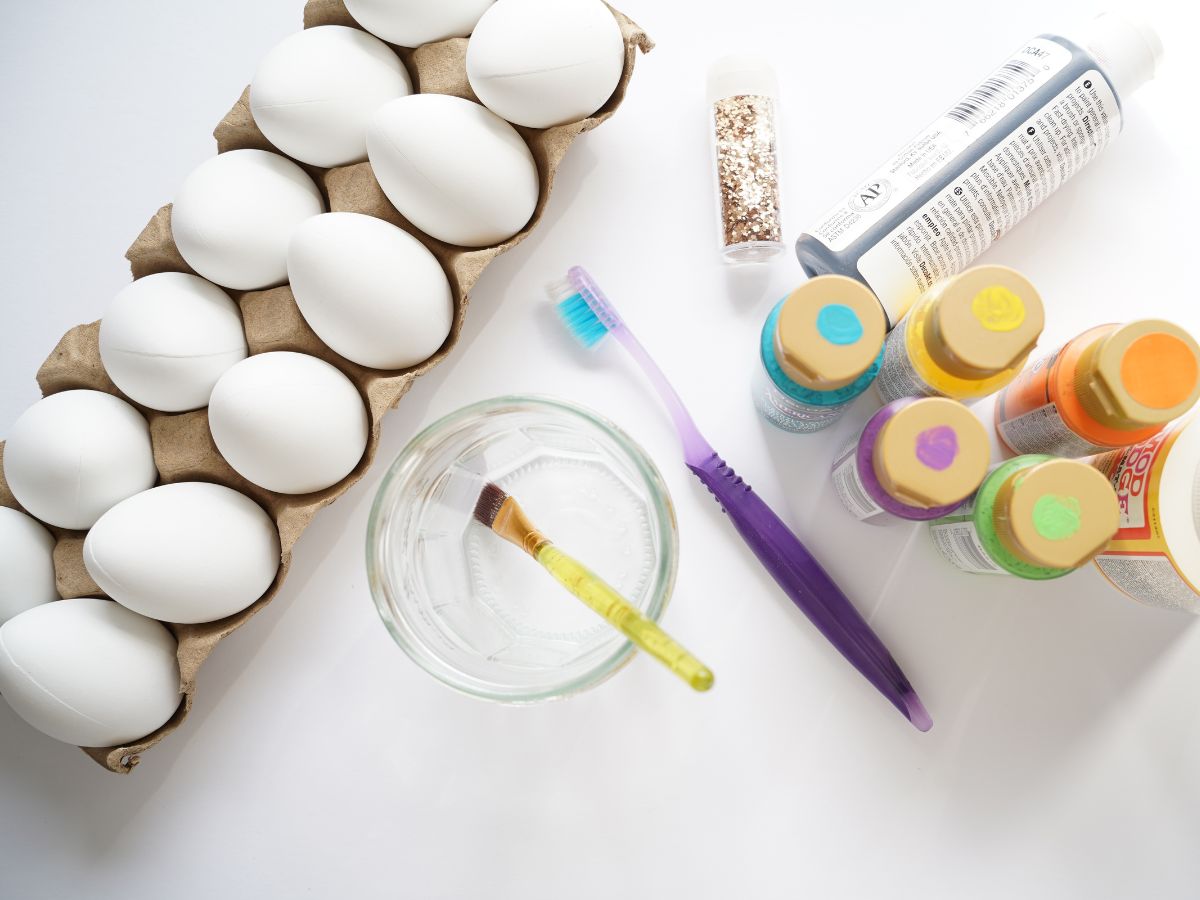
First up is preparing the eggs. Now, I have never bought or used craft Easter eggs before. I'm usually a hardcore fan of blowing out my own eggs. But this year I had far too many things to do and not enough time, or recipes, to be generating enough eggs for the crafts I wanted to make. So, I pick up some craft Easter eggs. These ones have a kind of matte surface that is perfect for painting. I would stay away from using shiny plastic eggs, unless you have the time to sand the surface and paint them with a primer. I was happy with these ones, and I painted two coats of black acrylic paint on the eggs and set them aside to dry.

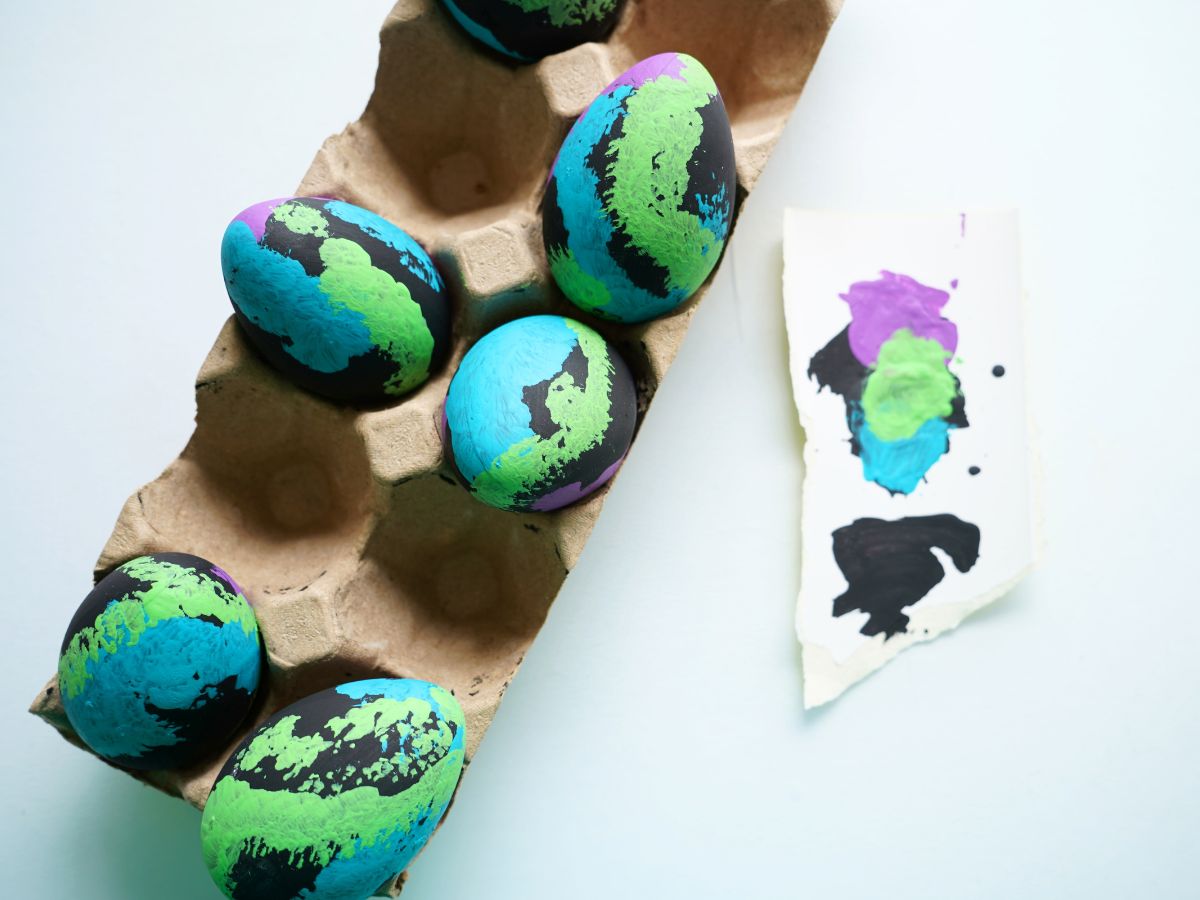
Once the black paint had dried, it was time to get creative with the galaxy design. You can choose whatever colors you think are in a galaxy. We looked through NASA's images of galaxies and noticed a lot of purple, green, and blue so those are the colors we went with. Paint each color one at a time and allow it to dry fully before applying the next color. This will keep the colors crisp and distinct from each other. We dabbed our paintbrush to create a soft edge to the bands of color.
Once the paints were dry, it was time to add the white stars. For the stars, we used a toothbrush to splatter a fine spray of stars. Simply dip the toothbrush bristles into the paint. Run your finger along the bristles, spraying the paint. You will want to try a couple of test runs of this technique on a piece of paper.
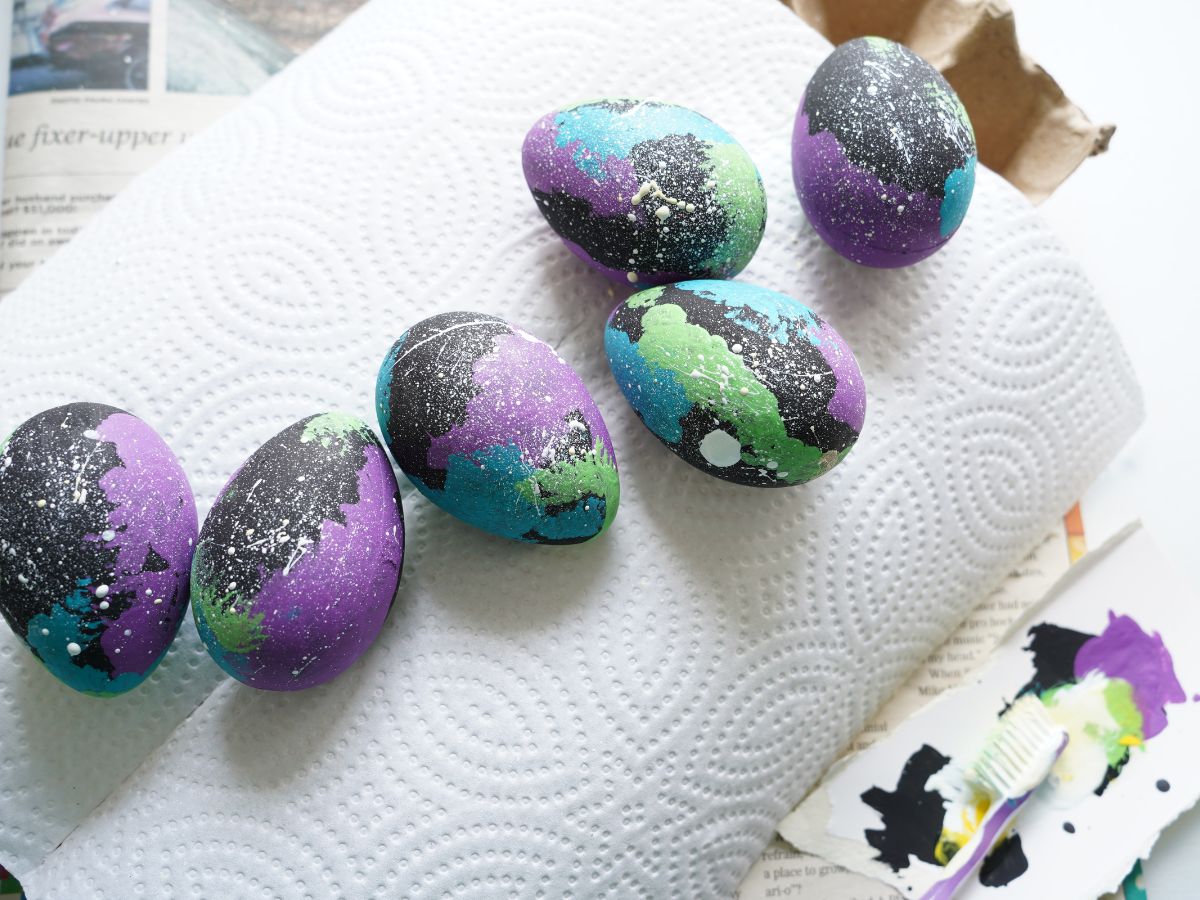
Try it until you get the style of stars that you like. Be forewarned, your finger is going to get messy, and there is a chance you will splatter on your sleeve or clothes. Thus, it's a good idea to do a test run. Set aside to dry fully.

Once the paint has dried fully, it is time to add some sparkly stars, our gold glitter. Brush on a coat of Mod Podge and then sprinkle the glitter into the wet Mod Podge. I liked a few stars, not a thick coating of stars. You can add as much or as little as you like. We applied a second coat of Mod Podge to seal the glitter in place.

Now the galaxy Easter eggs are done. They are so much fun to make. This is a fun Easter craft for older kids to make and share.

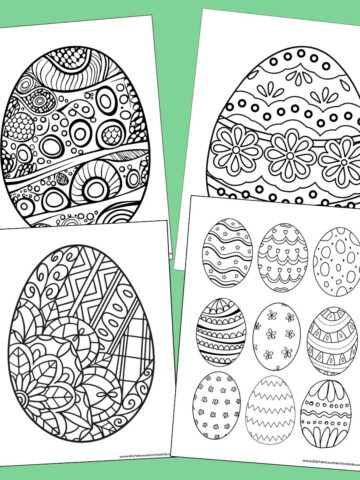
Check out all of our cool Easter crafts for tweens and teens to make.
Make sure you are following along...
FOLLOW KITCHEN COUNTER CHRONICLES ON
SUBSCRIBE TO KITCHEN COUNTER CHRONICLES TO HAVE OUR DELICIOUS RECIPES, FUN CRAFTS & ACTIVITIES DELIVERED DIRECTLY TO YOUR INBOX.


Leave a Reply