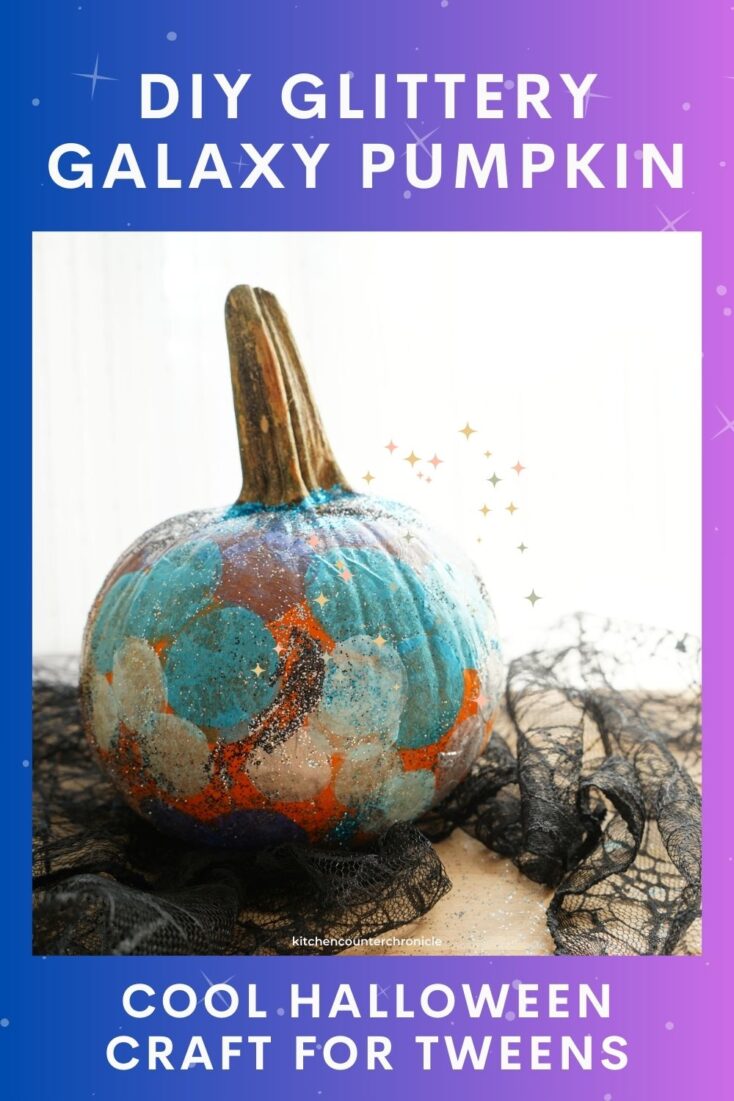
Sometimes a craft project just sort of happens. It evolves from one idea combining with another idea and the next thing you know you've created something that you love. This is how I came to make a glittery galaxy pumpkin. Yes, I am always looking for new Halloween crafts for older kids and adults to make, but this one was a true surprise.

Disclosure: There are Amazon Affiliate links in this article which means, at no additional cost to you, we could receive compensation for our recommendations. You can read our full disclosure policy on our Disclosure Page for more details.
Last week, my husband and I stayed up north. Now, saying "up north" when you live in Canada can be contentious. I'm not saying waaay up north, in Muskoka, which is a couple of hours north of Toronto, where we live. Far enough away from the cities and the light pollution that they bring. We can see the stars in the city, but not like the stars you can see in Muskoka. And, the starry sky is what led to my galaxy pumpkin.
How to Make a Glittery Galaxy Pumpkin
small pumpkin
blue tissue paper
scissors
Mod Podge - or some other craft glue/sealer
various fine glitters - blue, black, and silver
paint brush
I had seen the popular trend of people decoupaging their pumpkins with paper napkins. I love how those pumpkins looked. Usually, people used floral napkins, and the pumpkins looked totally transformed. But, after my trip up north and my encounter with a brilliantly starry sky, I decided to decoupage my pumpkin with the night sky. But how!?
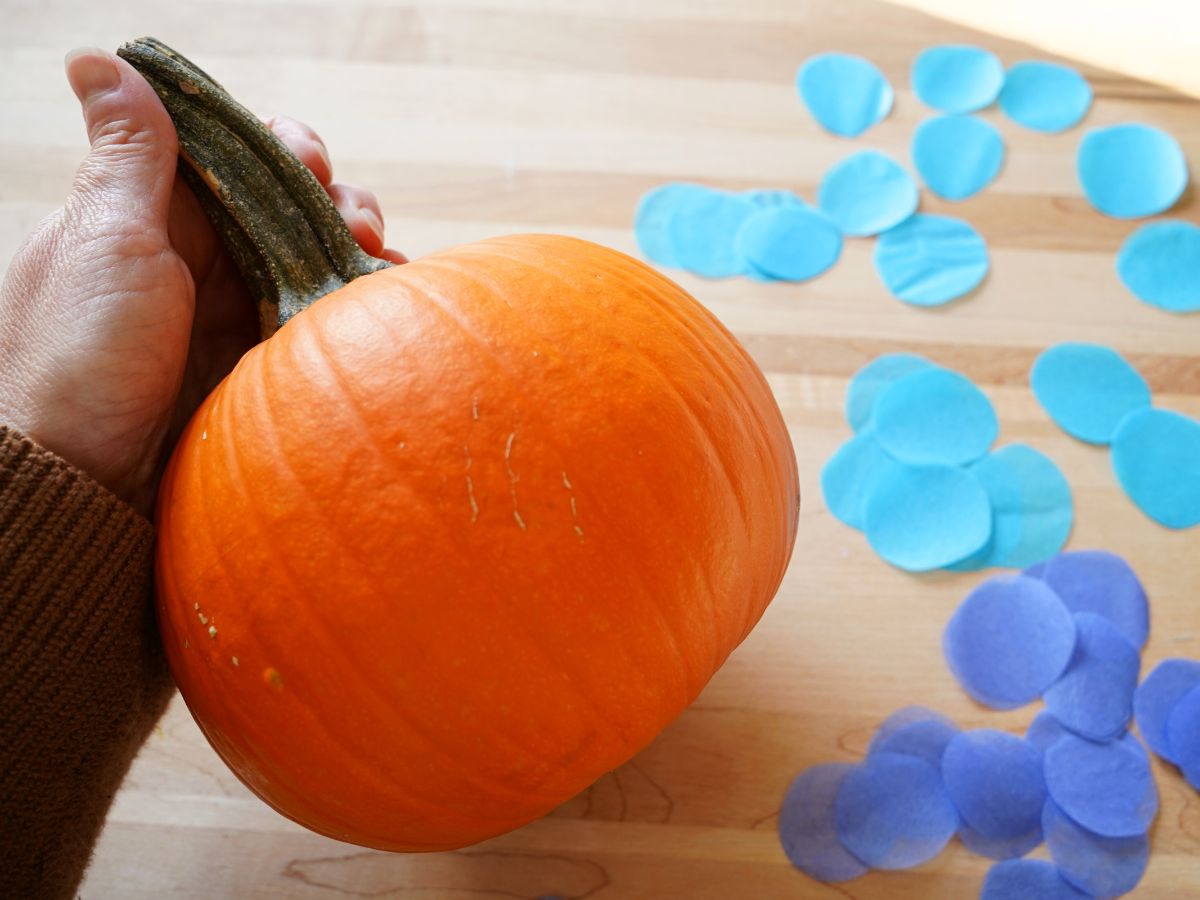
I started with blue tissue paper. I cut three shades of blue tissue paper into circles or dots. I made a pile of blue tissue paper circles and after I cleaned and dried my pumpkin I set about using the Mod Podge to adhere the dots to the pumpkin. I placed the darkest circles at the top of the pumpkin and scattered them down and around the pumpkin, getting lighter as I reached the bottom of the pumpkin. This was the base of my night sky. Much like the real sky, it was lighter near the horizon line.

Once the tissue paper had dried I started to paint on some more Mod Podge and this is when things got messy. Learn from my initial mistake and be sure to work on top of a sheet of cardboard when you bring out the glitter. At first, I worked straight on my wooden surface and it was pretty hard to get the glitter off...more on that later.
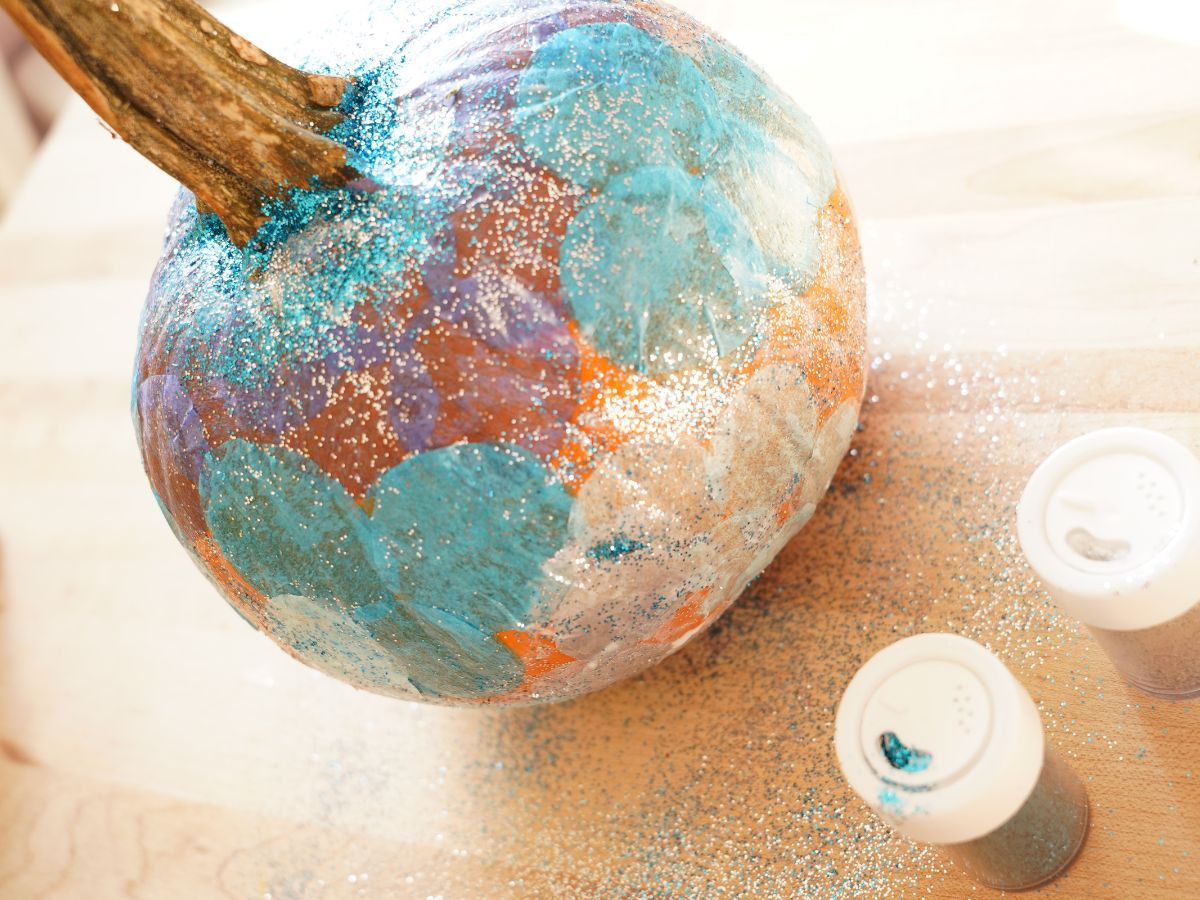
I followed my instincts and started shaking on the glitter. I knew I wanted a higher concentration of stars, or glitter, at the top of the pumpkin. So, I sprinkled silver, blue, and black. Depending on the night sky where you like, I could see adding pink and purple to the mix. Take inspiration from the sky you see when you look up at night.
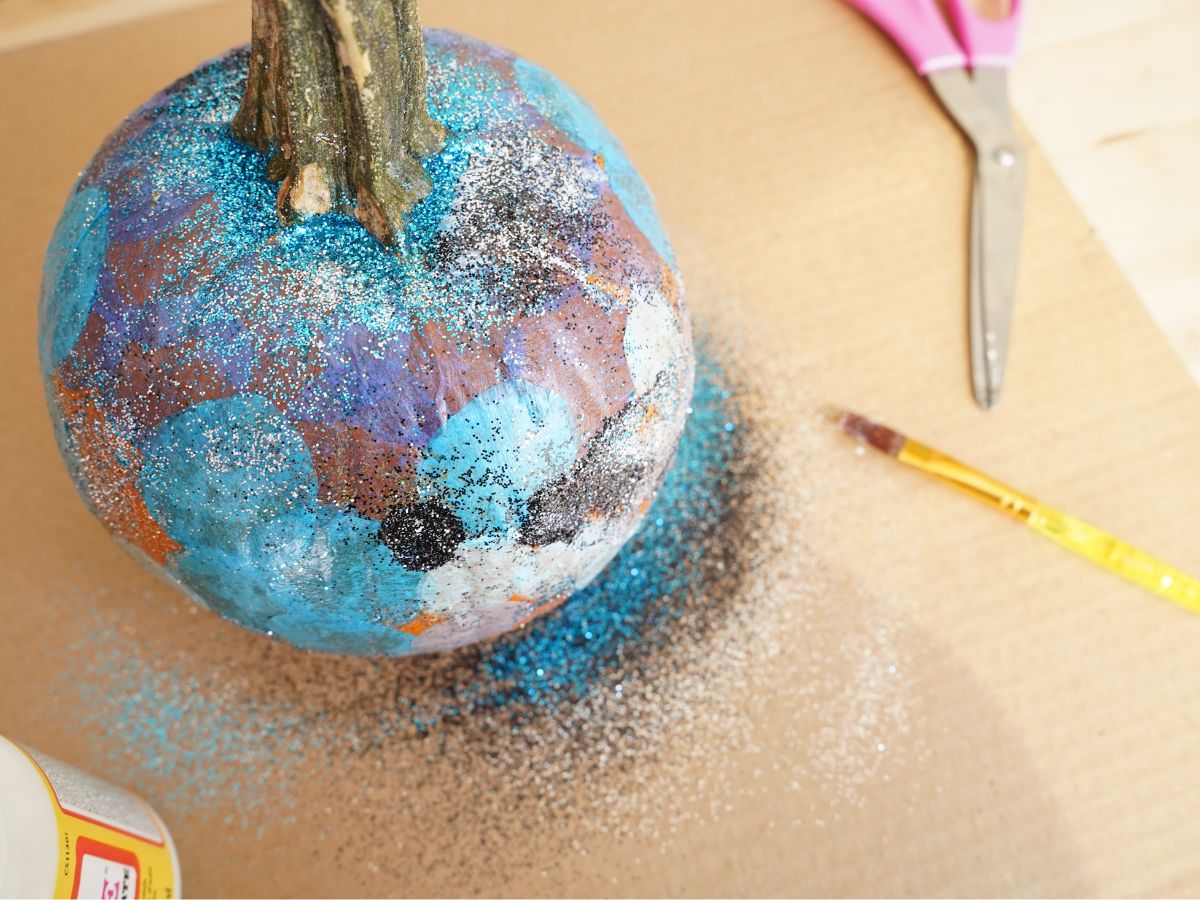
I kept layering on glitter until I was happy with the look of my galaxy pumpkin. Is it an accurate representation of the night's sky...probably not. Does it remind me of the sky I saw...yes, it does.

I will set my galaxy pumpkin on my Halloween table and I think I will surround it with some twinkling lights that can reflect off the glitter and really show off all the stars.
What do you think of this Halloween craft? I think older kids will have fun being playful with glitter. You could add the constellations you see by adding dots of paint to represent the stars, I might do this the next time I make a night sky pumpkin.
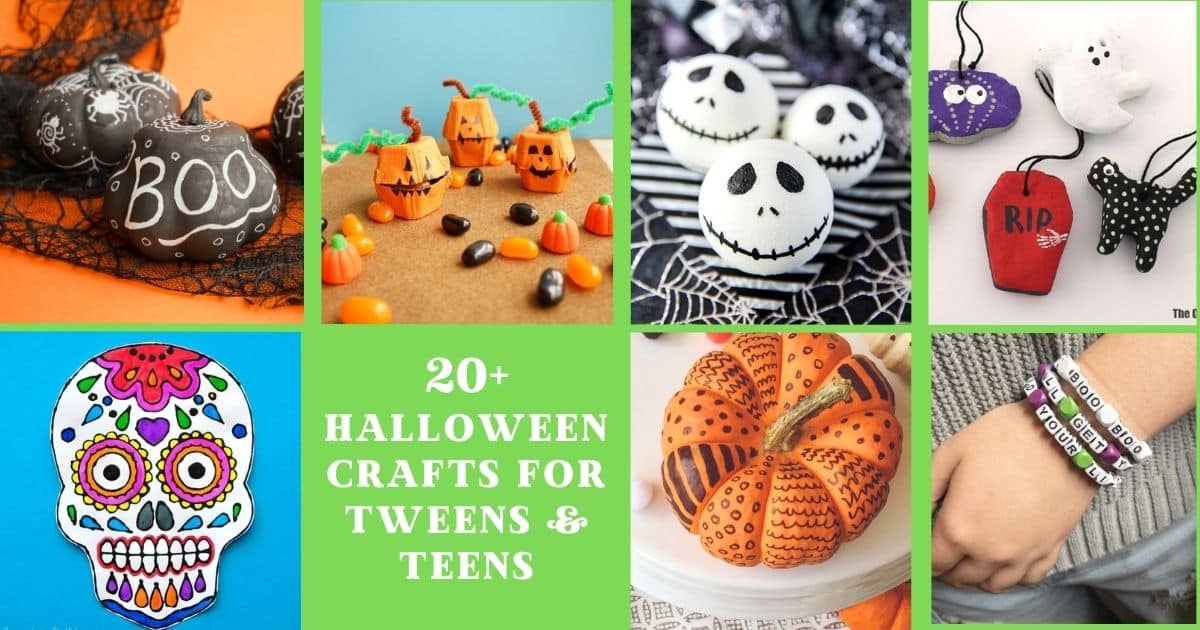
check out all of our favorite Halloween crafts for tweens and teens to make
Make sure you are following along...
FOLLOW KITCHEN COUNTER CHRONICLES ON
SUBSCRIBE TO KITCHEN COUNTER CHRONICLES TO HAVE OUR DELICIOUS RECIPES, FUN CRAFTS & ACTIVITIES DELIVERED DIRECTLY TO YOUR INBOX.