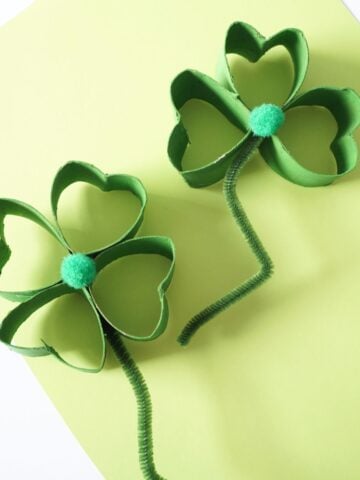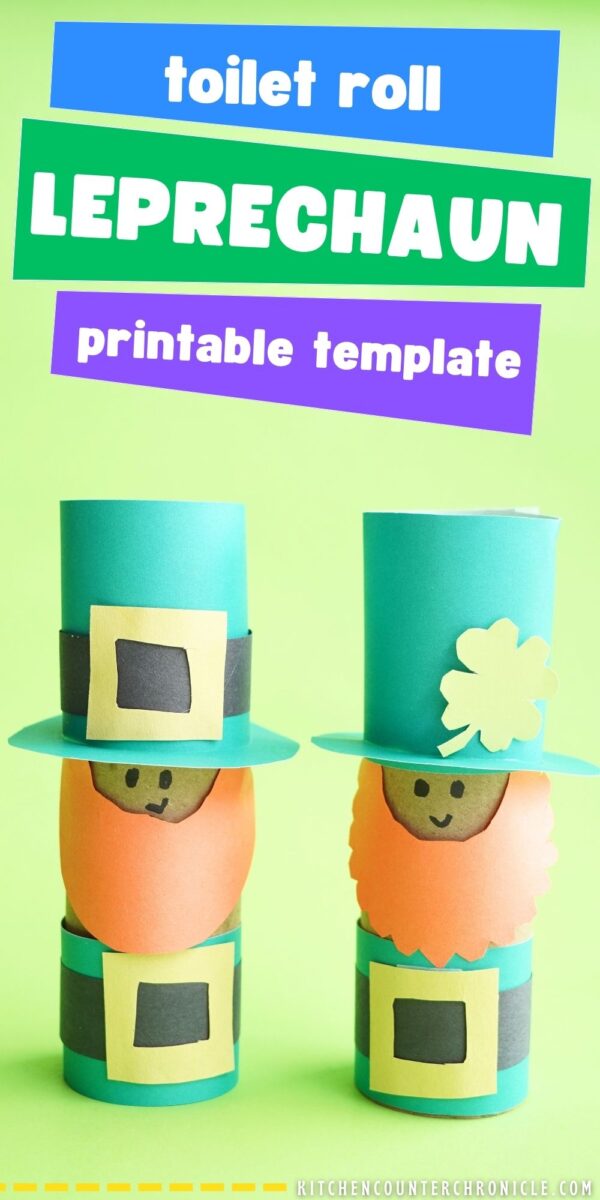
You know I love a good toilet paper roll craft. I've shared all kinds of fun St. Patrick's Day crafts over the years, so this time around I wanted to create a super easy toilet paper roll Leprechaun craft, complete with a printable Leprechaun template. This one is going to be so simple to make with the kids.

Who doesn't love a little Leprechaun? I don't know about you, but we grew up thinking Leprechauns were precocious, mischievous, and a little silly. That sounds like some of my very best friends! Lol! And, while we have never tried to set a Leprechaun trap, I know plenty of families where that is the St. Patrick's Day tradition. Do you set a Leprechaun trap in your house?
Well, whether you're Irish or just celebrating the holiday for the fun of it, this toilet paper roll craft is sure to be a fun one. Honestly, we celebrate the day because it means spring is almost here. I love the green, the rainbows, and the Leprechauns.
Cutest Toilet Paper Roll Leprechaun Craft
Supplies Needed:
our printable Leprechaun template
toilet paper rolls
construction paper - orange, green, yellow, and black
scissors
tape or glue gun
black marker
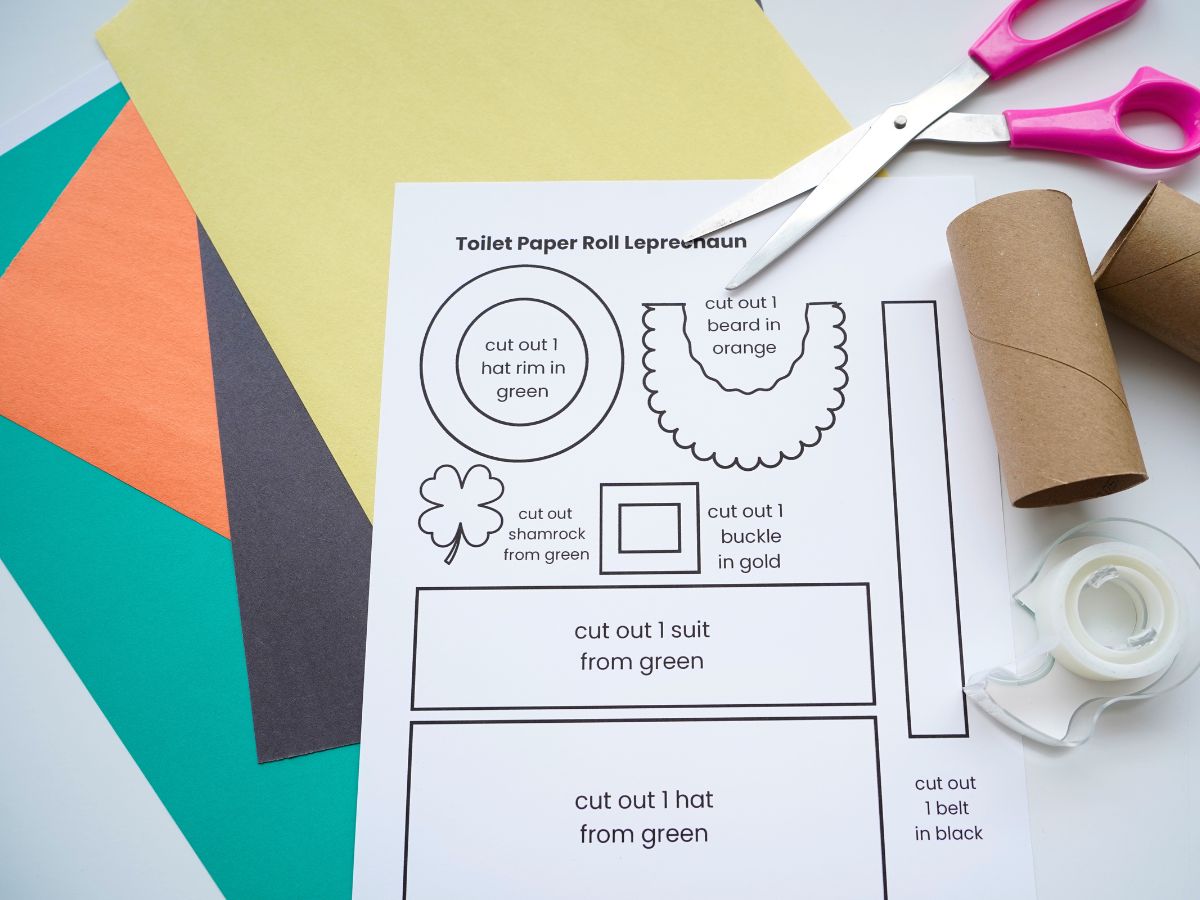
Start by gathering up a few toilet paper rolls. My top tip for using toilet paper rolls to craft with is to always collect your toilet paper rolls as soon as the roll is empty. When the roll is empty we immediately take it to the craft room and store it there until we are ready to make a craft. If by some chance you don't have any empty toilet paper rolls or paper towel rolls, you could always purchase paper rolls at the craft store.
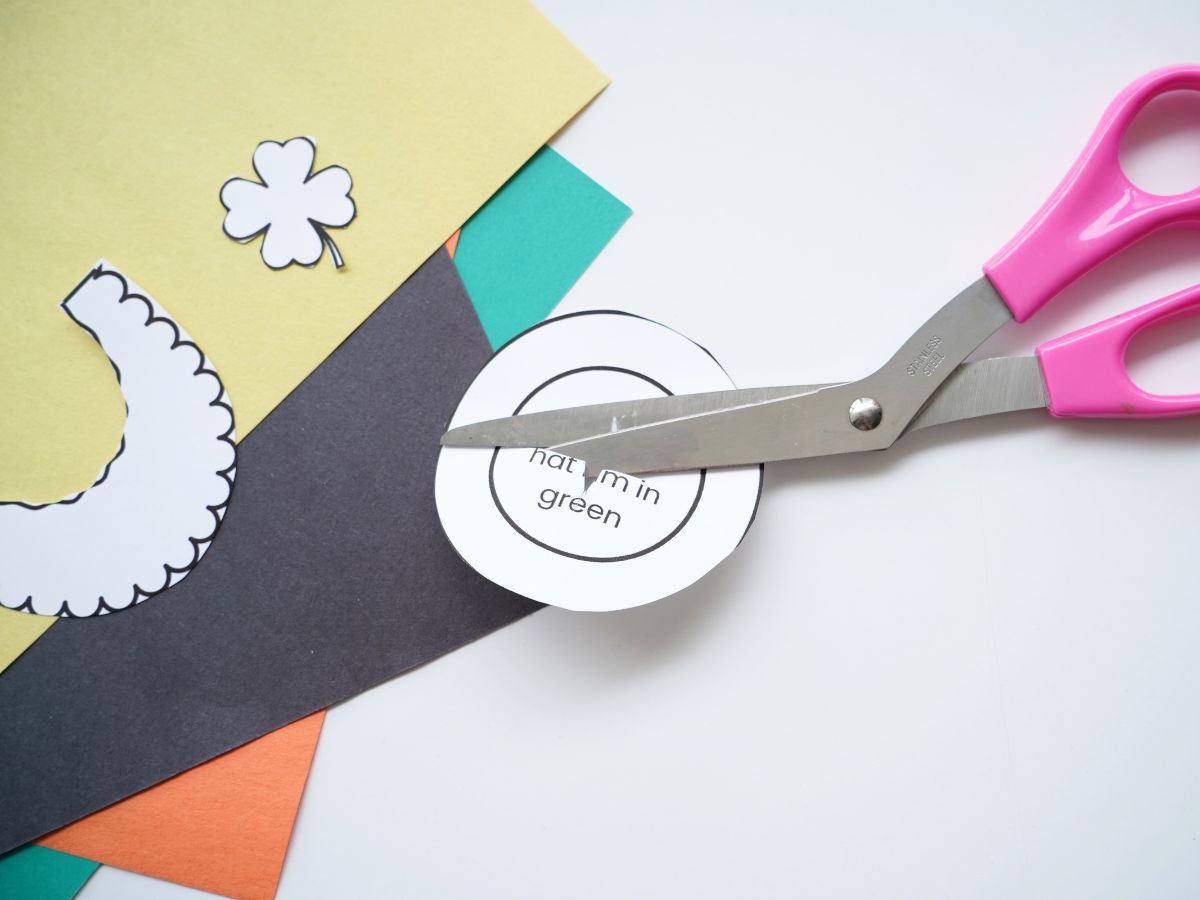
Once you have your paper roll ready, you will want to print our Leprechaun template. Print this template on regular printer paper. Cut out all of the pieces from the template.
How to Assemble the Toilet Roll Leprechaun
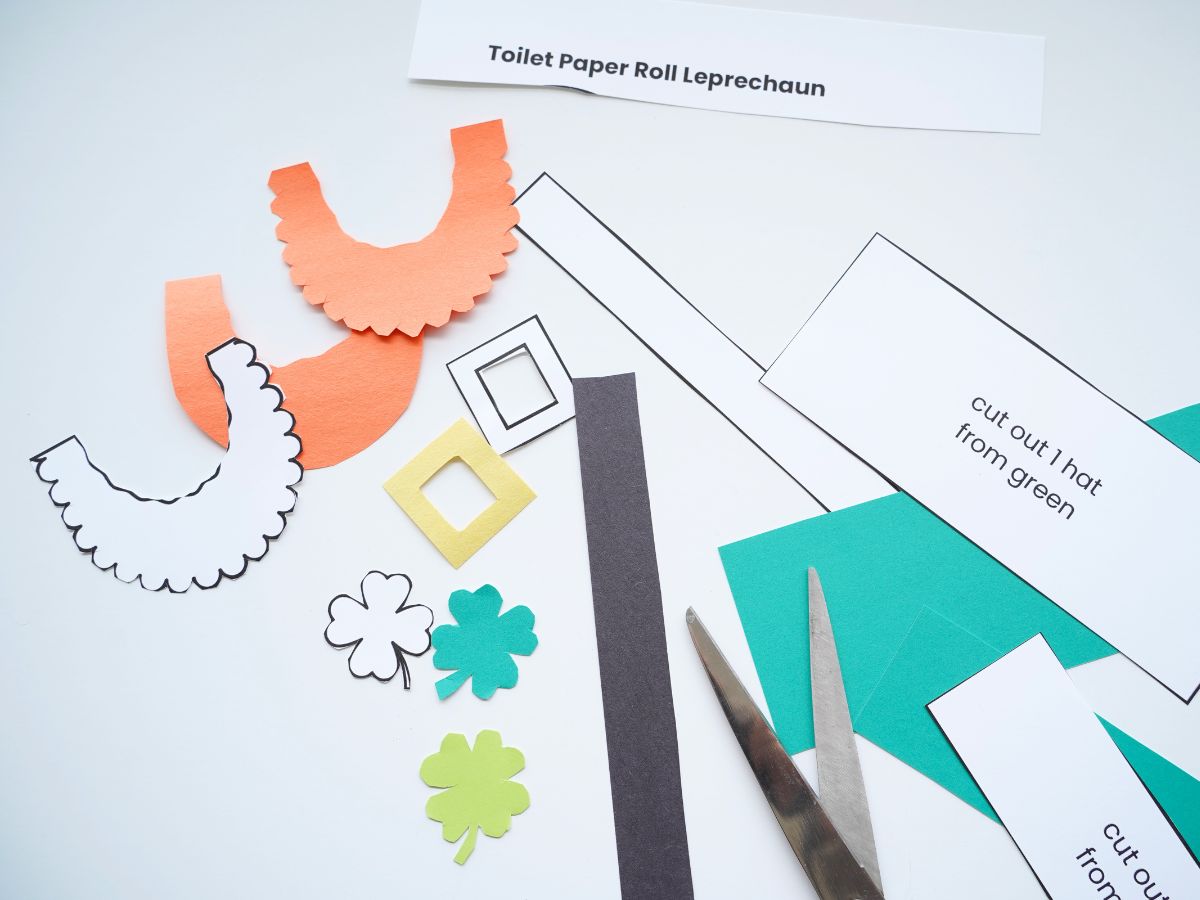
Now that the template pieces have been cut out you can trace them onto the appropriately colored construction paper. For our Leprechaun suits I used a green card stock, as I wanted to have a very Irish green and I didn't love the green of the construction paper that I had. For the beards, I used orange, but you could use red or brown, or whatever color you would like your Leprechaun to have. And, for one of my Leprechauns I cut out all the bumps in the beard and the other one I didn't, again use the template as a guideline that you can change as you like.
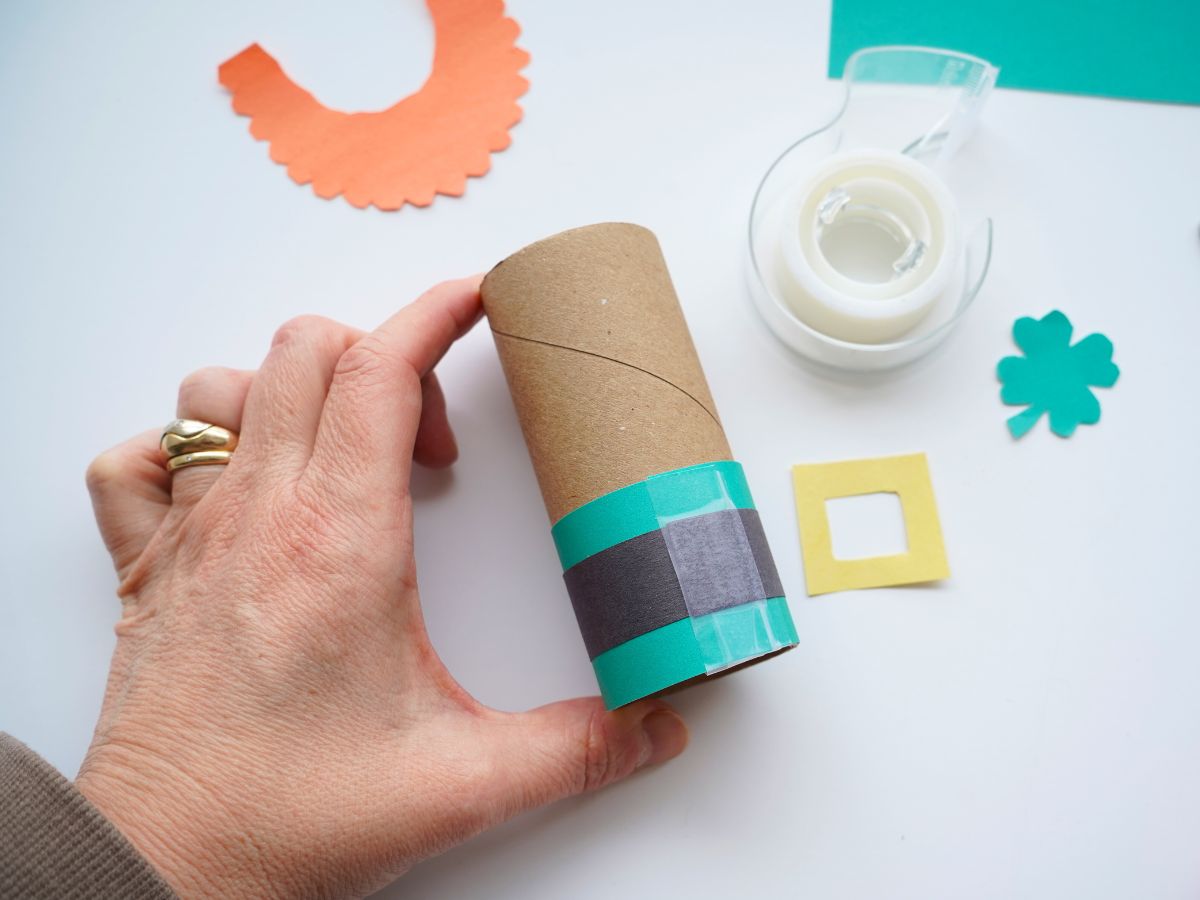
Okay, when everything is cut out it is time to assemble the little lucky guy. I used tape to assemble one of my Leprechauns and I used a glue gun for the other one. I preferred using the glue gun, it feels more secure, but either is a good option. Use what you have on hand and what will be easiest for your child to use. Start by wrapping the green suit around the lower edge of the toilet paper roll. Then you can wrap around the black belt. Tape the pieces in place.
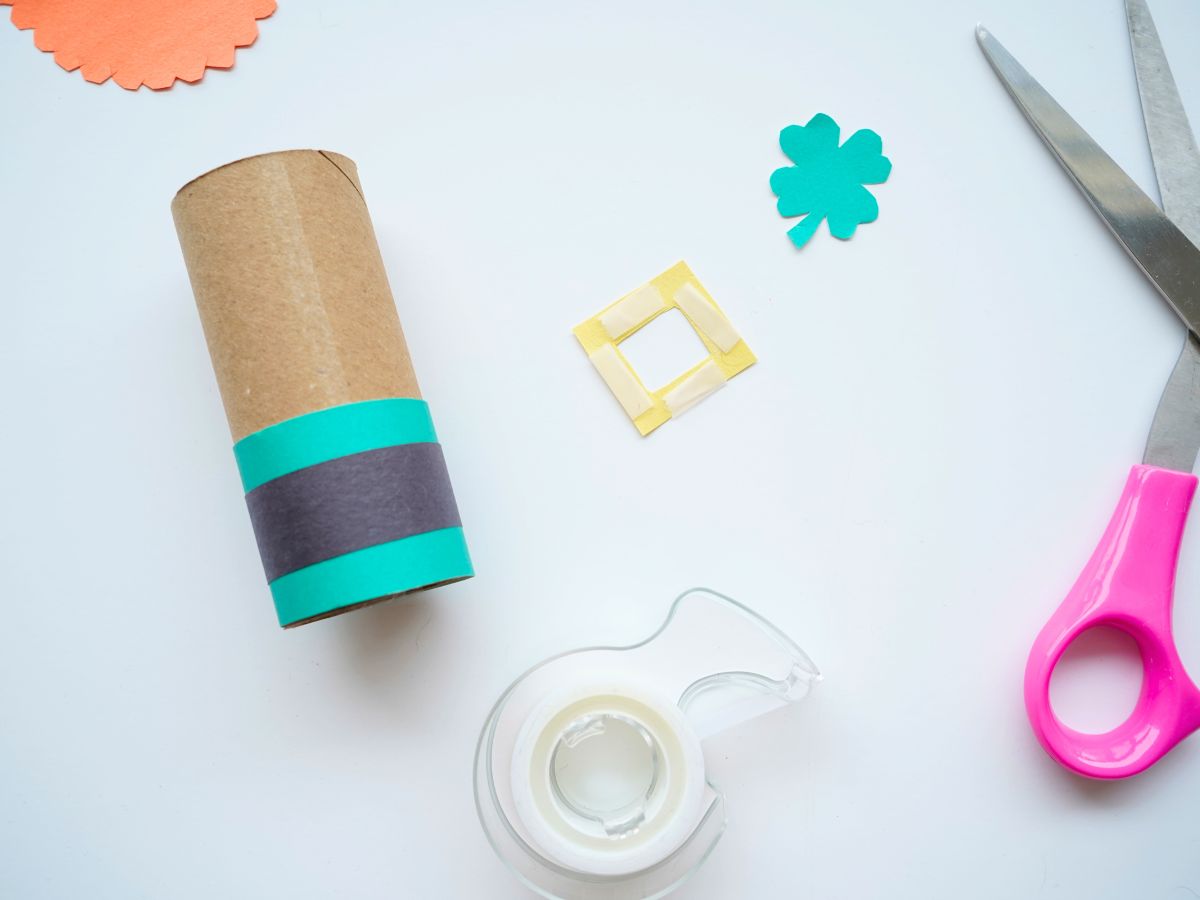
Next, you will want to add the belt buckle. If you are using tape, make 4 little loops of tape, sticky side facing out. Place the tape on the 4 sides of the gold belt buckle and then press in place over the belt.
Now it's time to add the beard. You want to add the beard now so the hat can sit over the beard. Adjust the beard to have has long or short of a face as you would like. Just remember that you have to attach the hat and that will take up some of the space you leave for the face.

Once the beard is in place, it's time for the hat. Start by wrapping and taping the main piece of the hat. When that is taped in place you should be able to slide the circular hat trim piece over the body of the hat. You might need to trim the inside of the circle a little, depending on the exact size of your hat. Once you slide the hat trim down to the base of the hat use a piece of tape, at the underside of the back of the hat to secure it in place. This was one time where the glue gun was a little easier to use because I was able to squeeze a bead of glue under the hat edge and secure it easily. The tape was a little more finicky, but still worked.
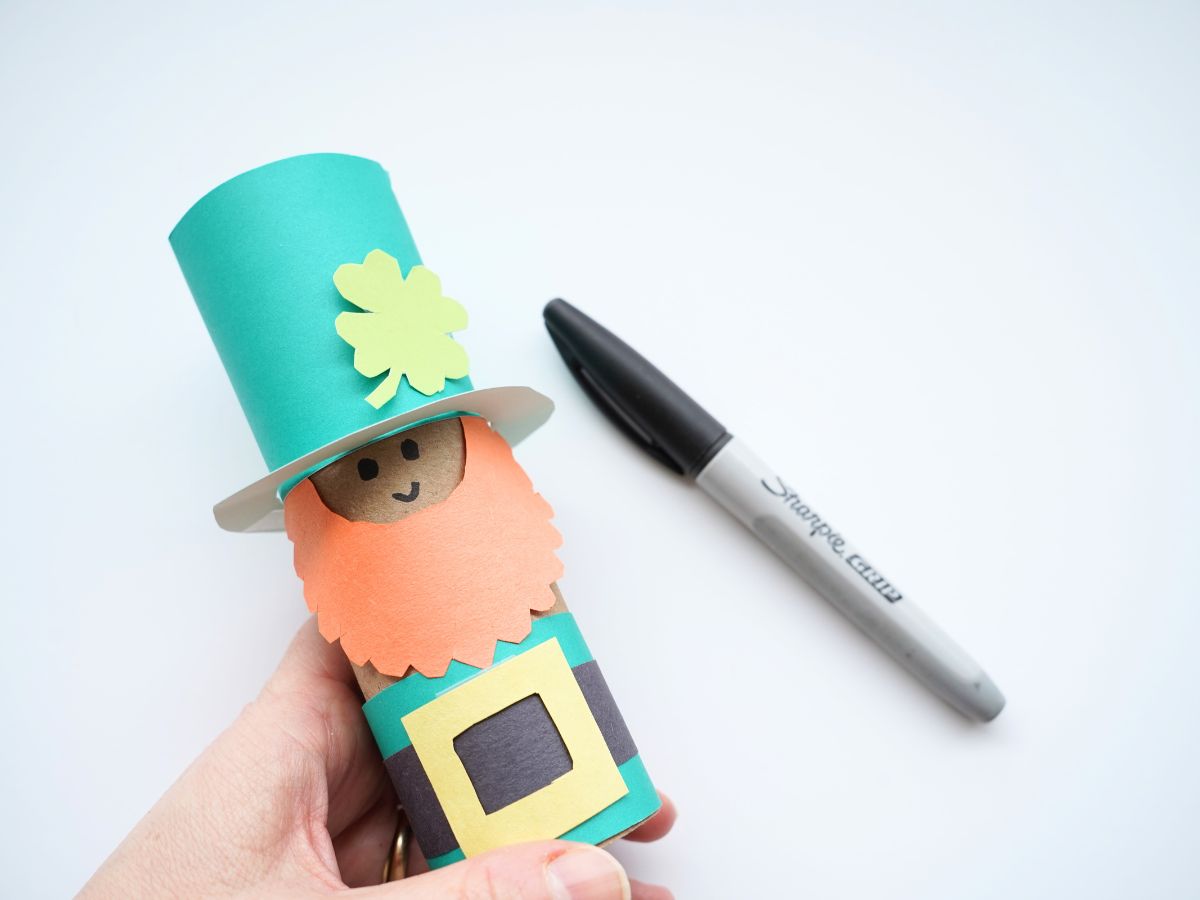
You can embellish the hat with a little shamrock or you could cut out a second belt and buckle and add the belt to the hat. It's up to you. I also thought about adding a little rainbow to his hat. And, you could trim the hat to be a little shorter too. The point is for you to decorate the hat however you'd like to. Have fun.
Okay, the last thing to do is to add his little face. Use a black marker to add the Leprechaun's expression. I like a simple smile. Maybe a little mischevious...what do you think?
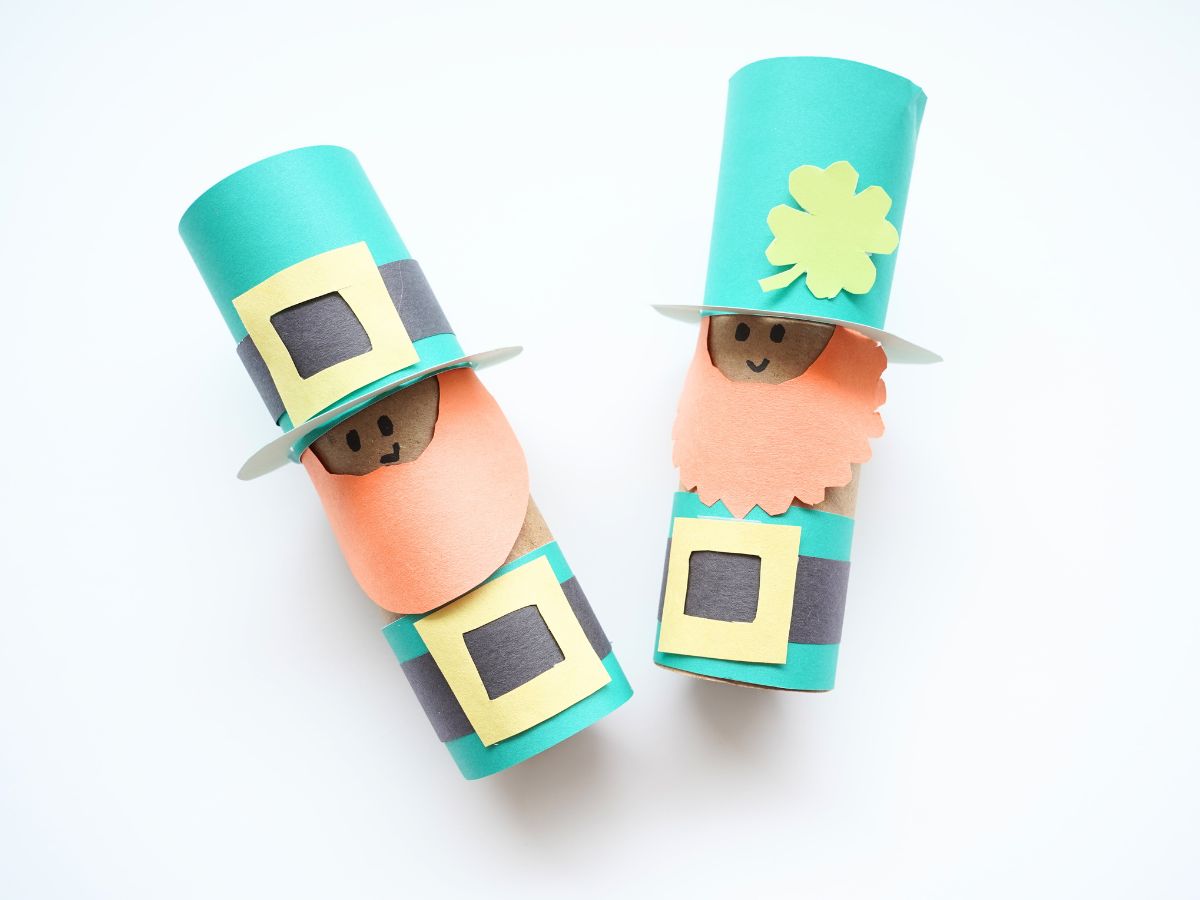
In the end, you will have made the cutest little Leprechaun. What kind of trouble will your Leprechaun get up to? Hunting for the pot of gold at the end of the rainbow, perhaps?
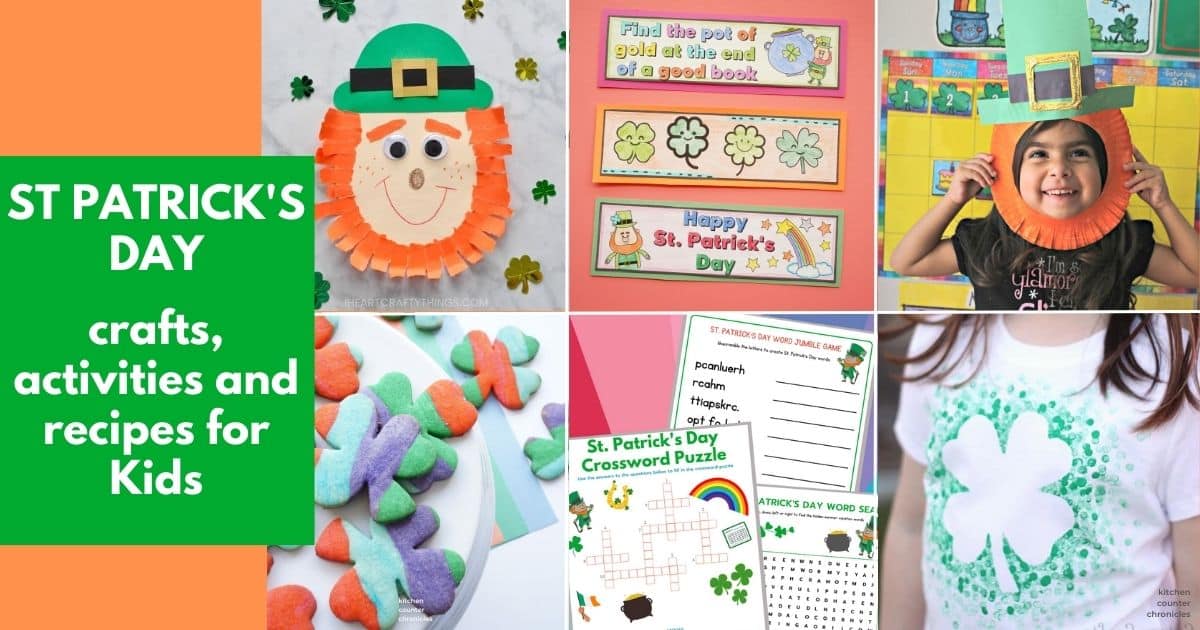
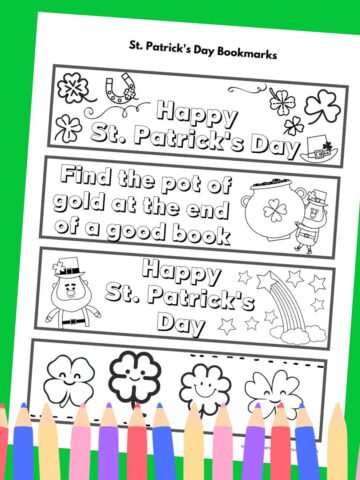
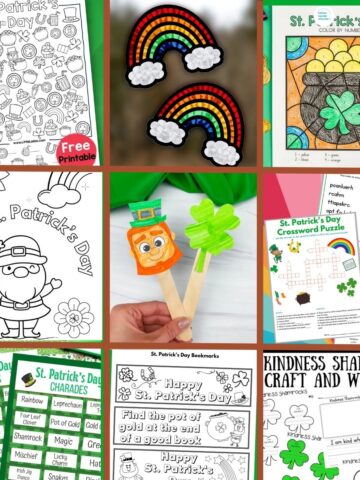
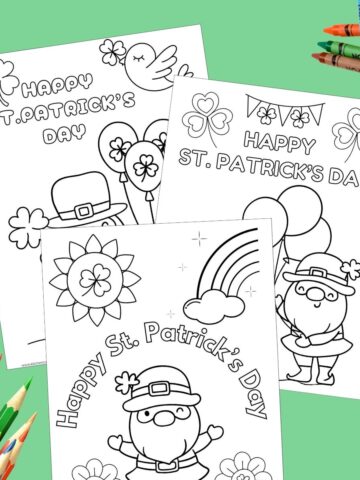
Check out all of our favorite St. Patrick's Day crafts and activities
Make sure you are following along...
FOLLOW KITCHEN COUNTER CHRONICLES ON
SUBSCRIBE TO KITCHEN COUNTER CHRONICLES TO HAVE OUR DELICIOUS RECIPES, FUN CRAFTS & ACTIVITIES DELIVERED DIRECTLY TO YOUR INBOX.